
The Times


The Times Newspaper
Clear Angle Studios
Ed Potton
Showcasing our latest work with CAS for The Times
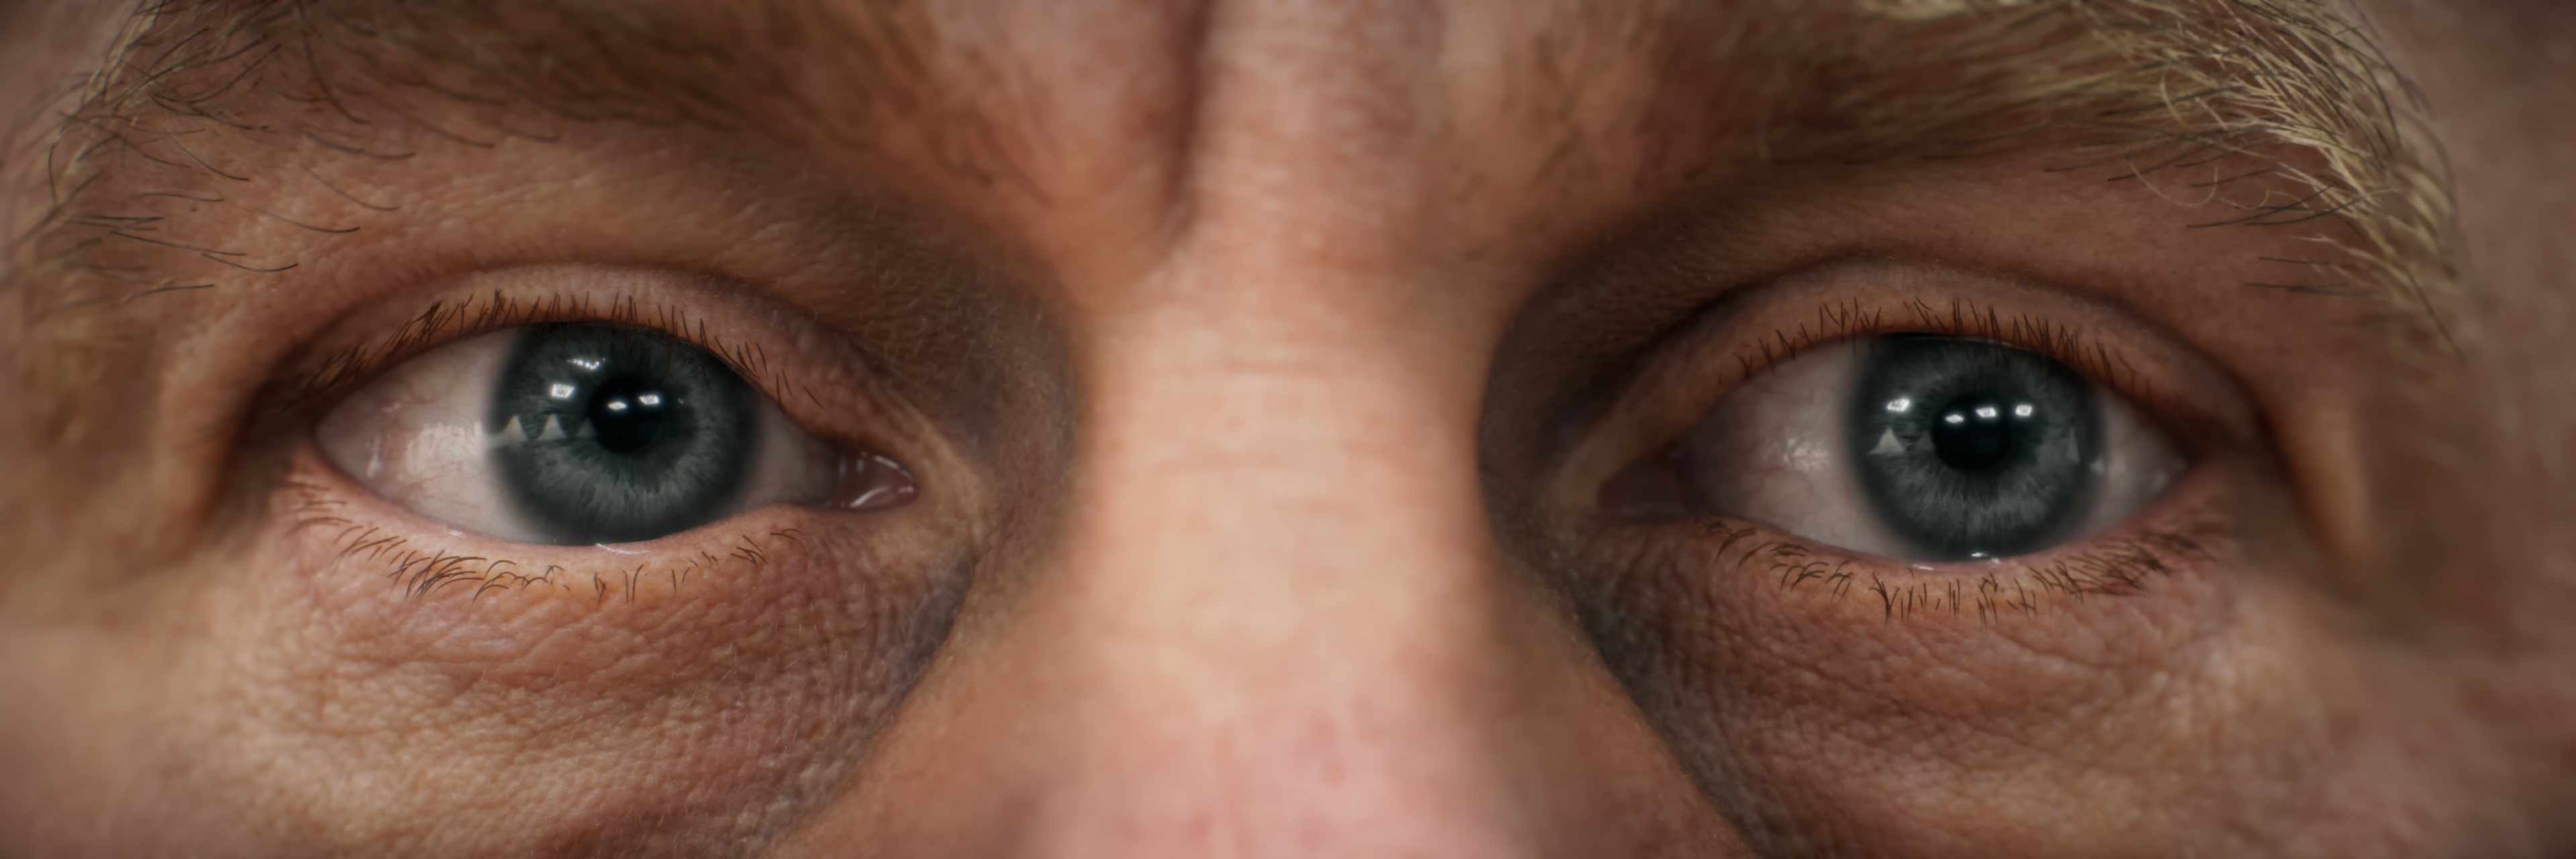
We're excited to share our latest professional project, made in partnership with Clear Angle Studios for The Times newspaper. This project gave Symbiote the opportunity to be showcased alongside Clear Angle Studios, where our teams played a key role in transforming photography into high-quality digital humans
Project Overview
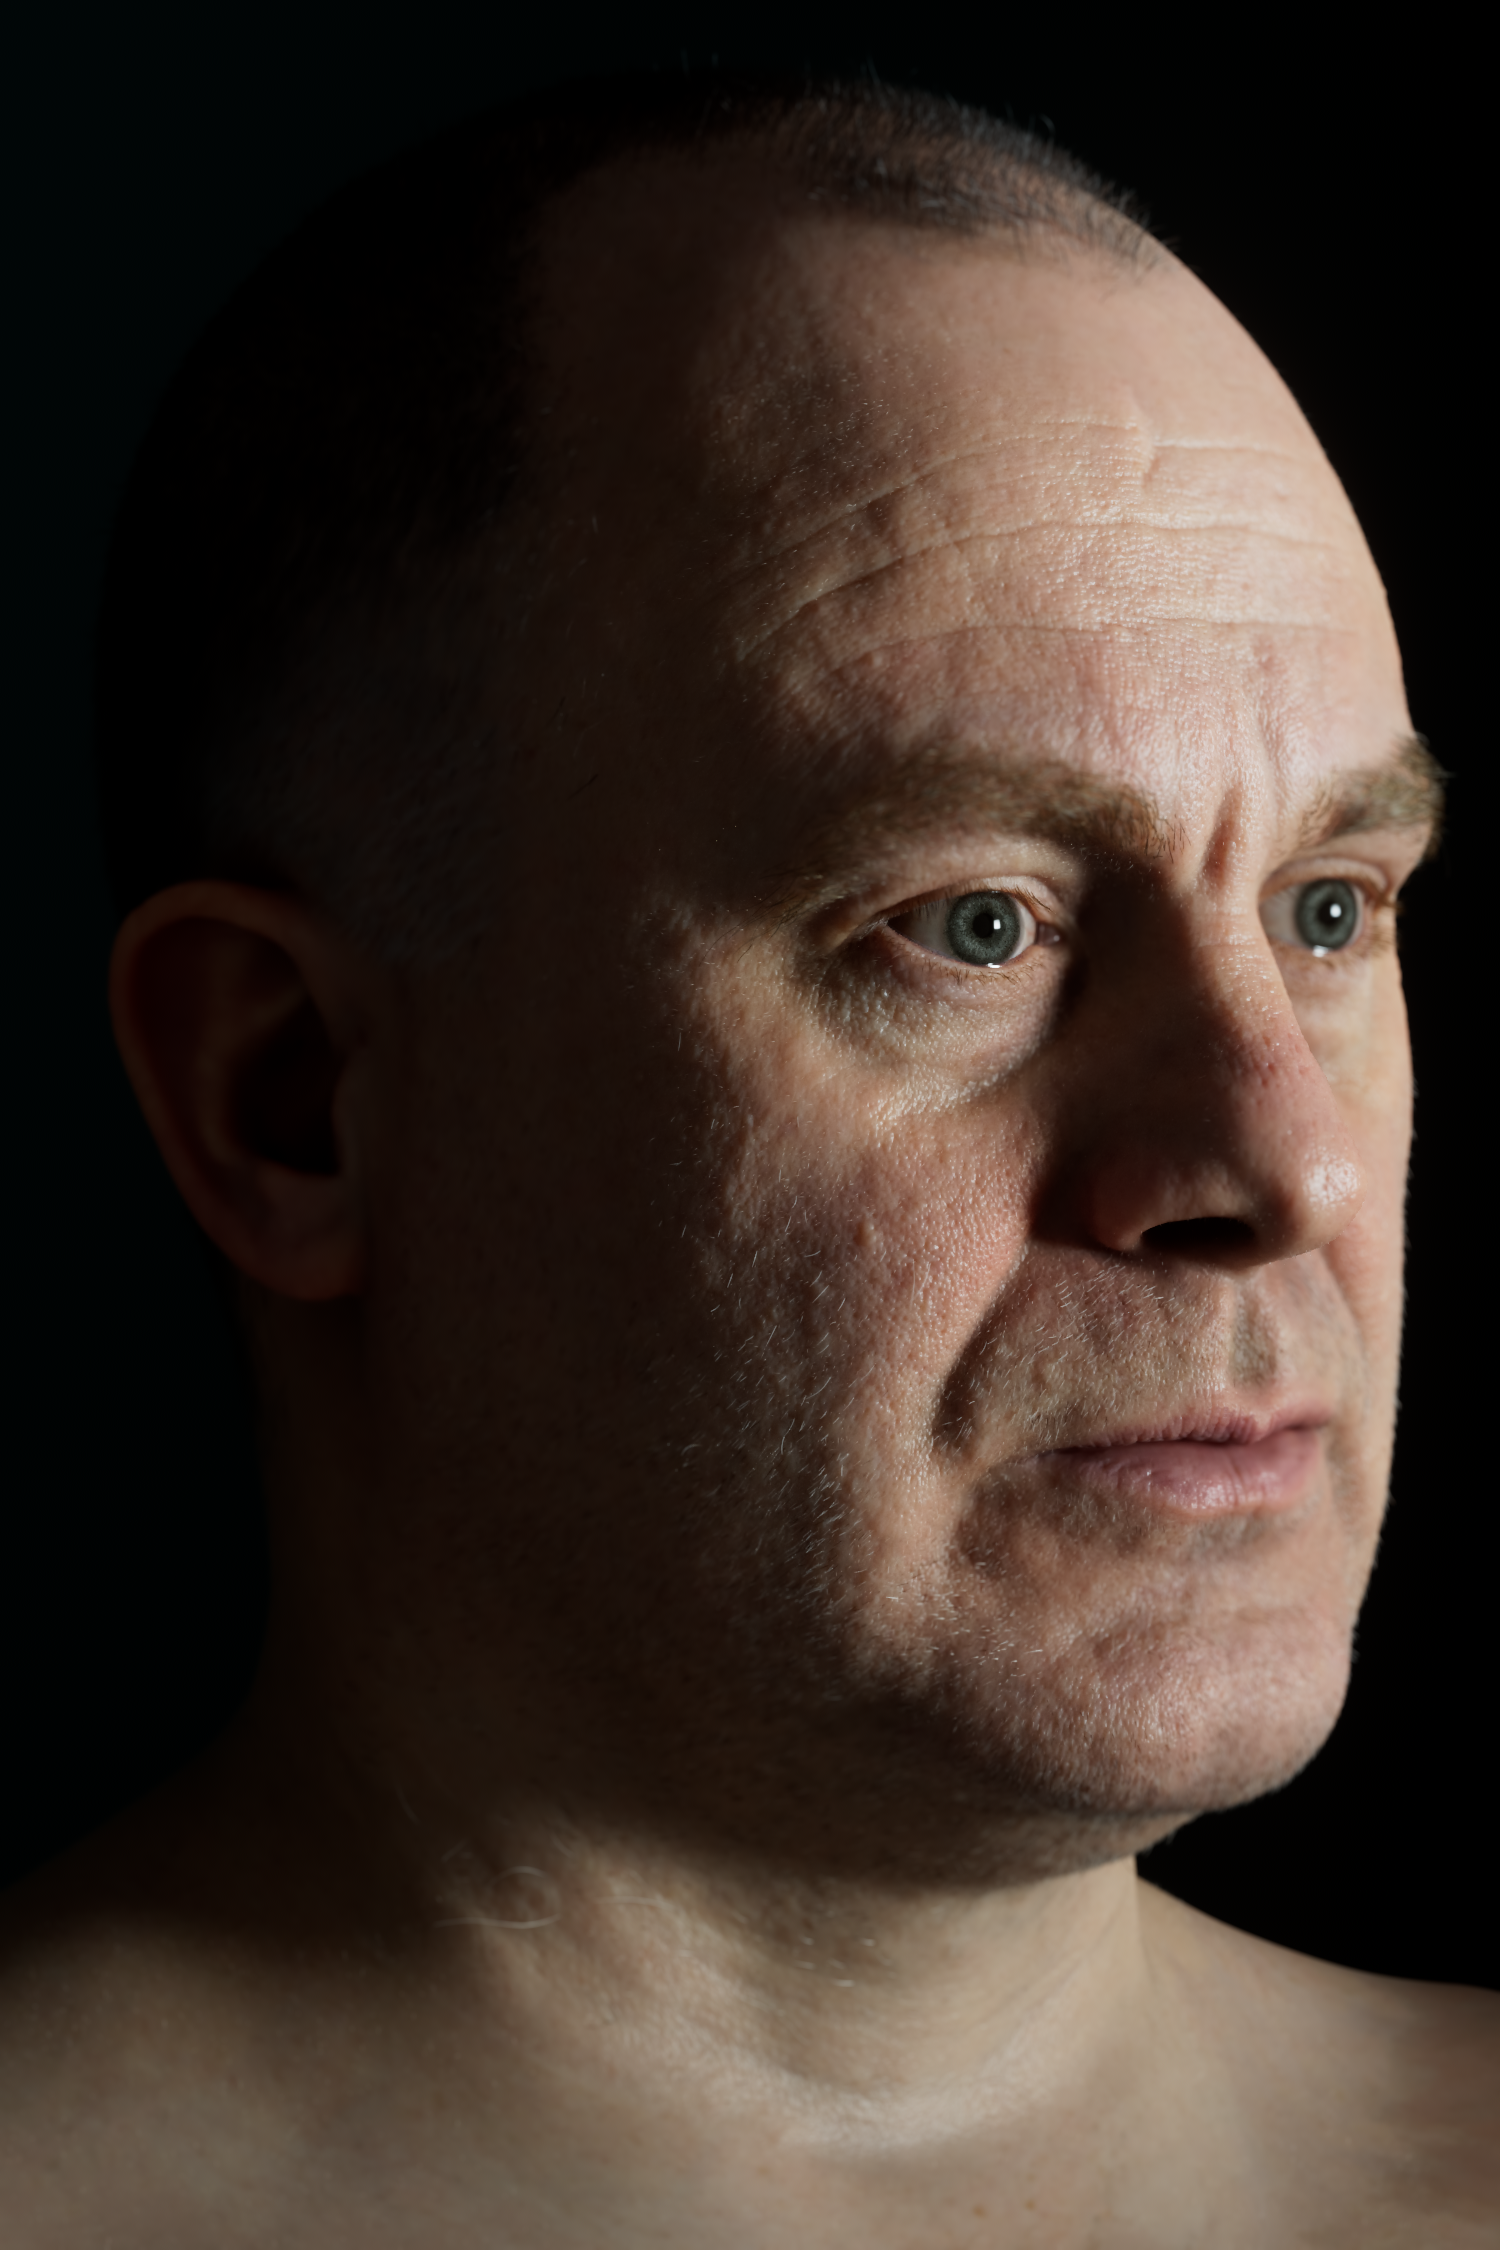
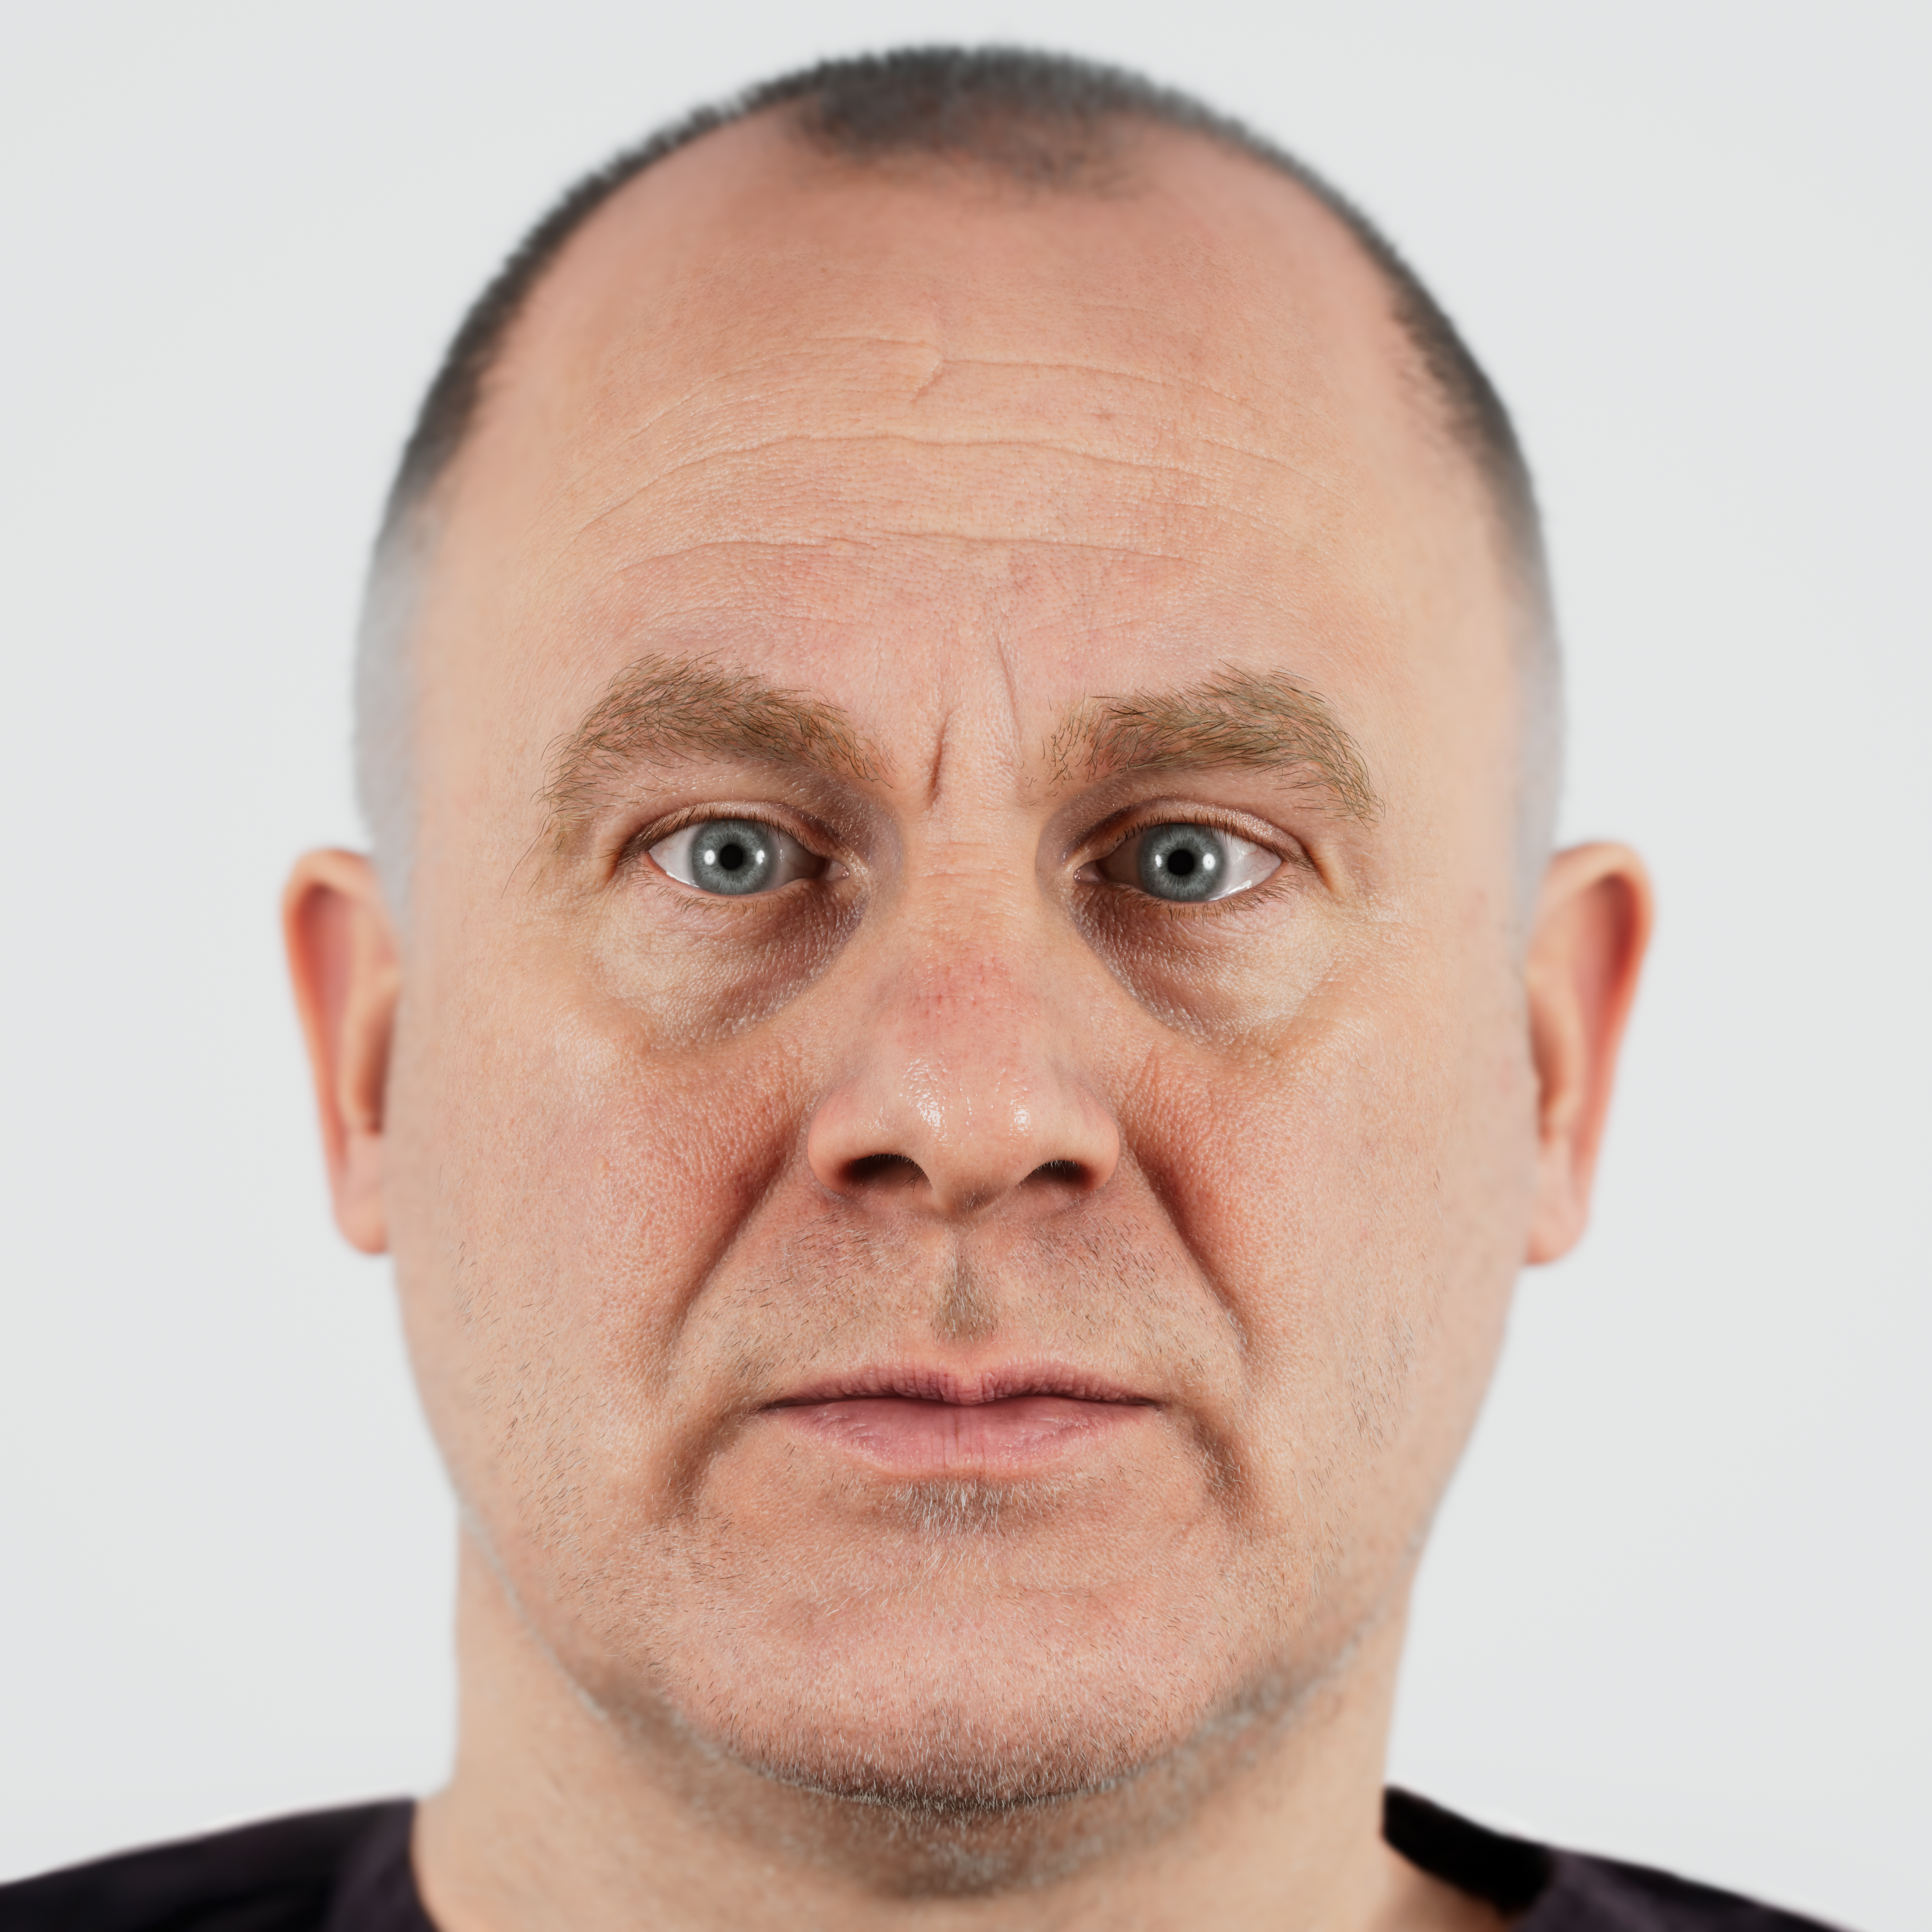
The Times wanted to give readers an inside look at the entire process behind 3D scanning and digital reconstruction, showcasing the high-tech methods used in film production to create highly detailed digital replicas. To do so, the newspaper sent one of its reporters, Ed Potton, to experience the process firsthand. Undergoing a full scan just like an actor would for a movie.
Clear Angle Studios provided us with high-resolution 3D scans of the subject, captured using their advanced Dorothy scanning system, ensuring an exceptionally detailed scan. From there, Symbiote took over the full CG pipeline, refining the asset from its scan state to a production-ready digital human.
Our Role in the Project
Our team was responsible for the entire CG process:
-
Pipeline
-
Clean-up
-
Skin calibration
-
Surfacing
-
Grooming
-
Lighting & Final rendering
One of the key aspects of this project was the use of Symbiote's skin calibration process. Our workflow is entirely input-based, meaning that the entire texture calibration is enhanced directly from the raw maps provided by the client. This approach allowed us to achieve a much higher level of skin fidelity compared to traditional manual texturing or procedural process.
This means we preserve the natural skin texture and the subject’s unique identity without altering them.
Visual Showcase
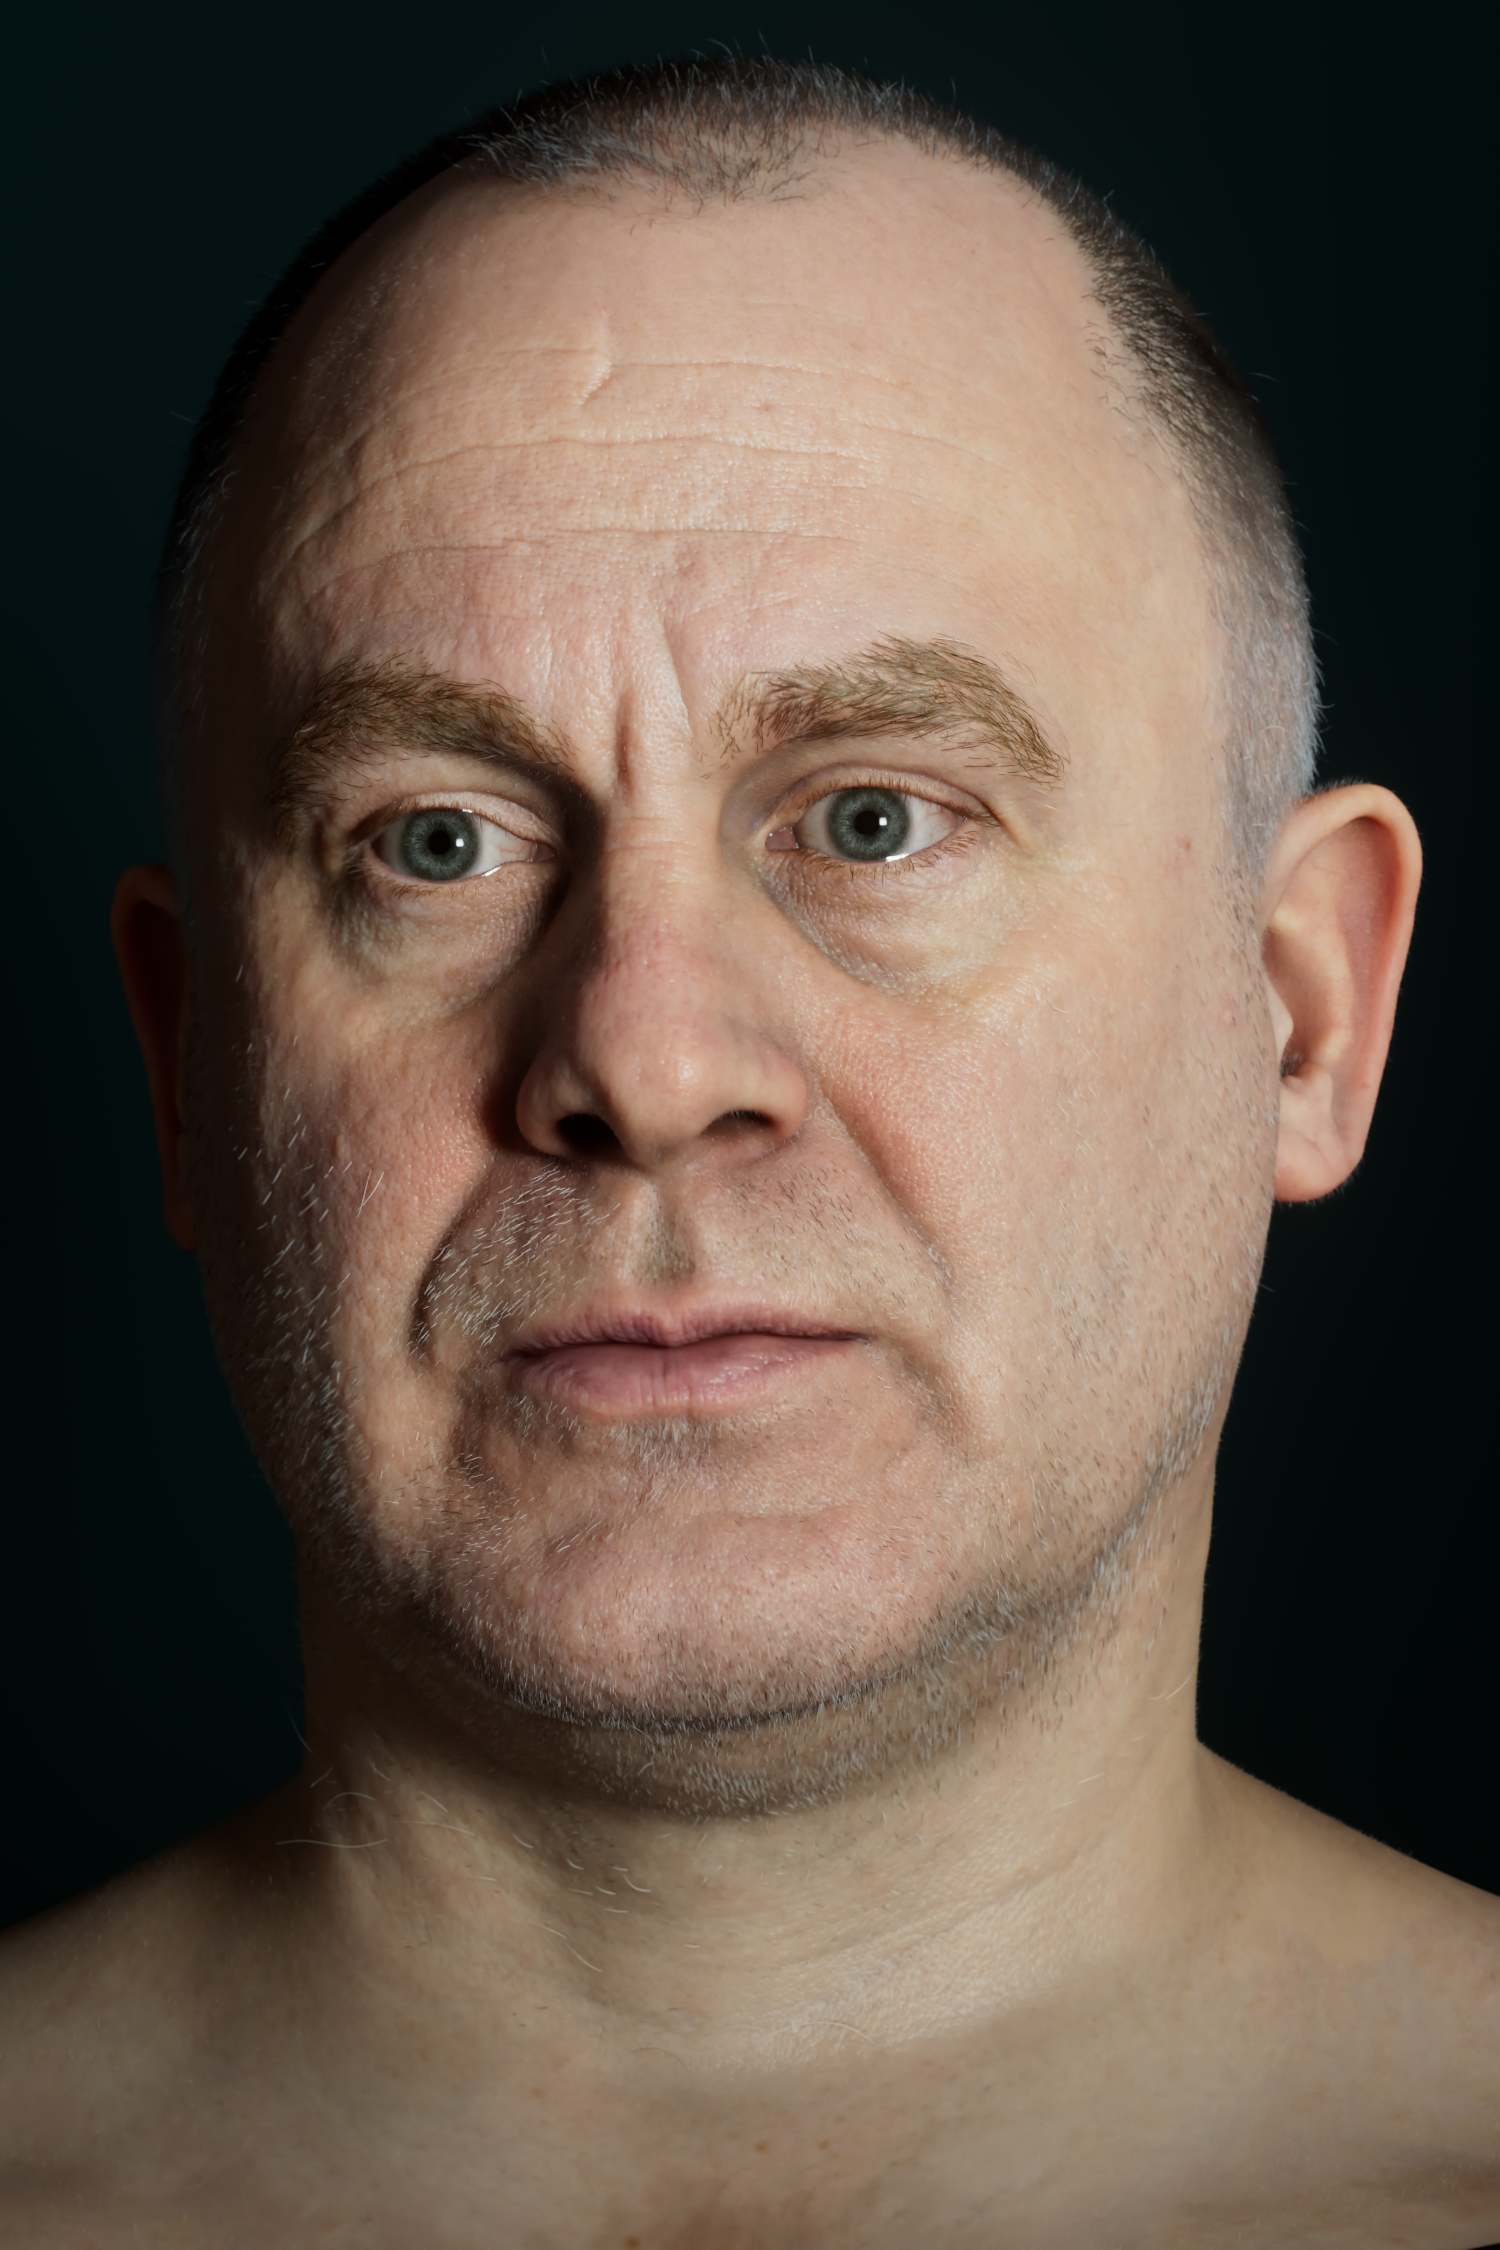
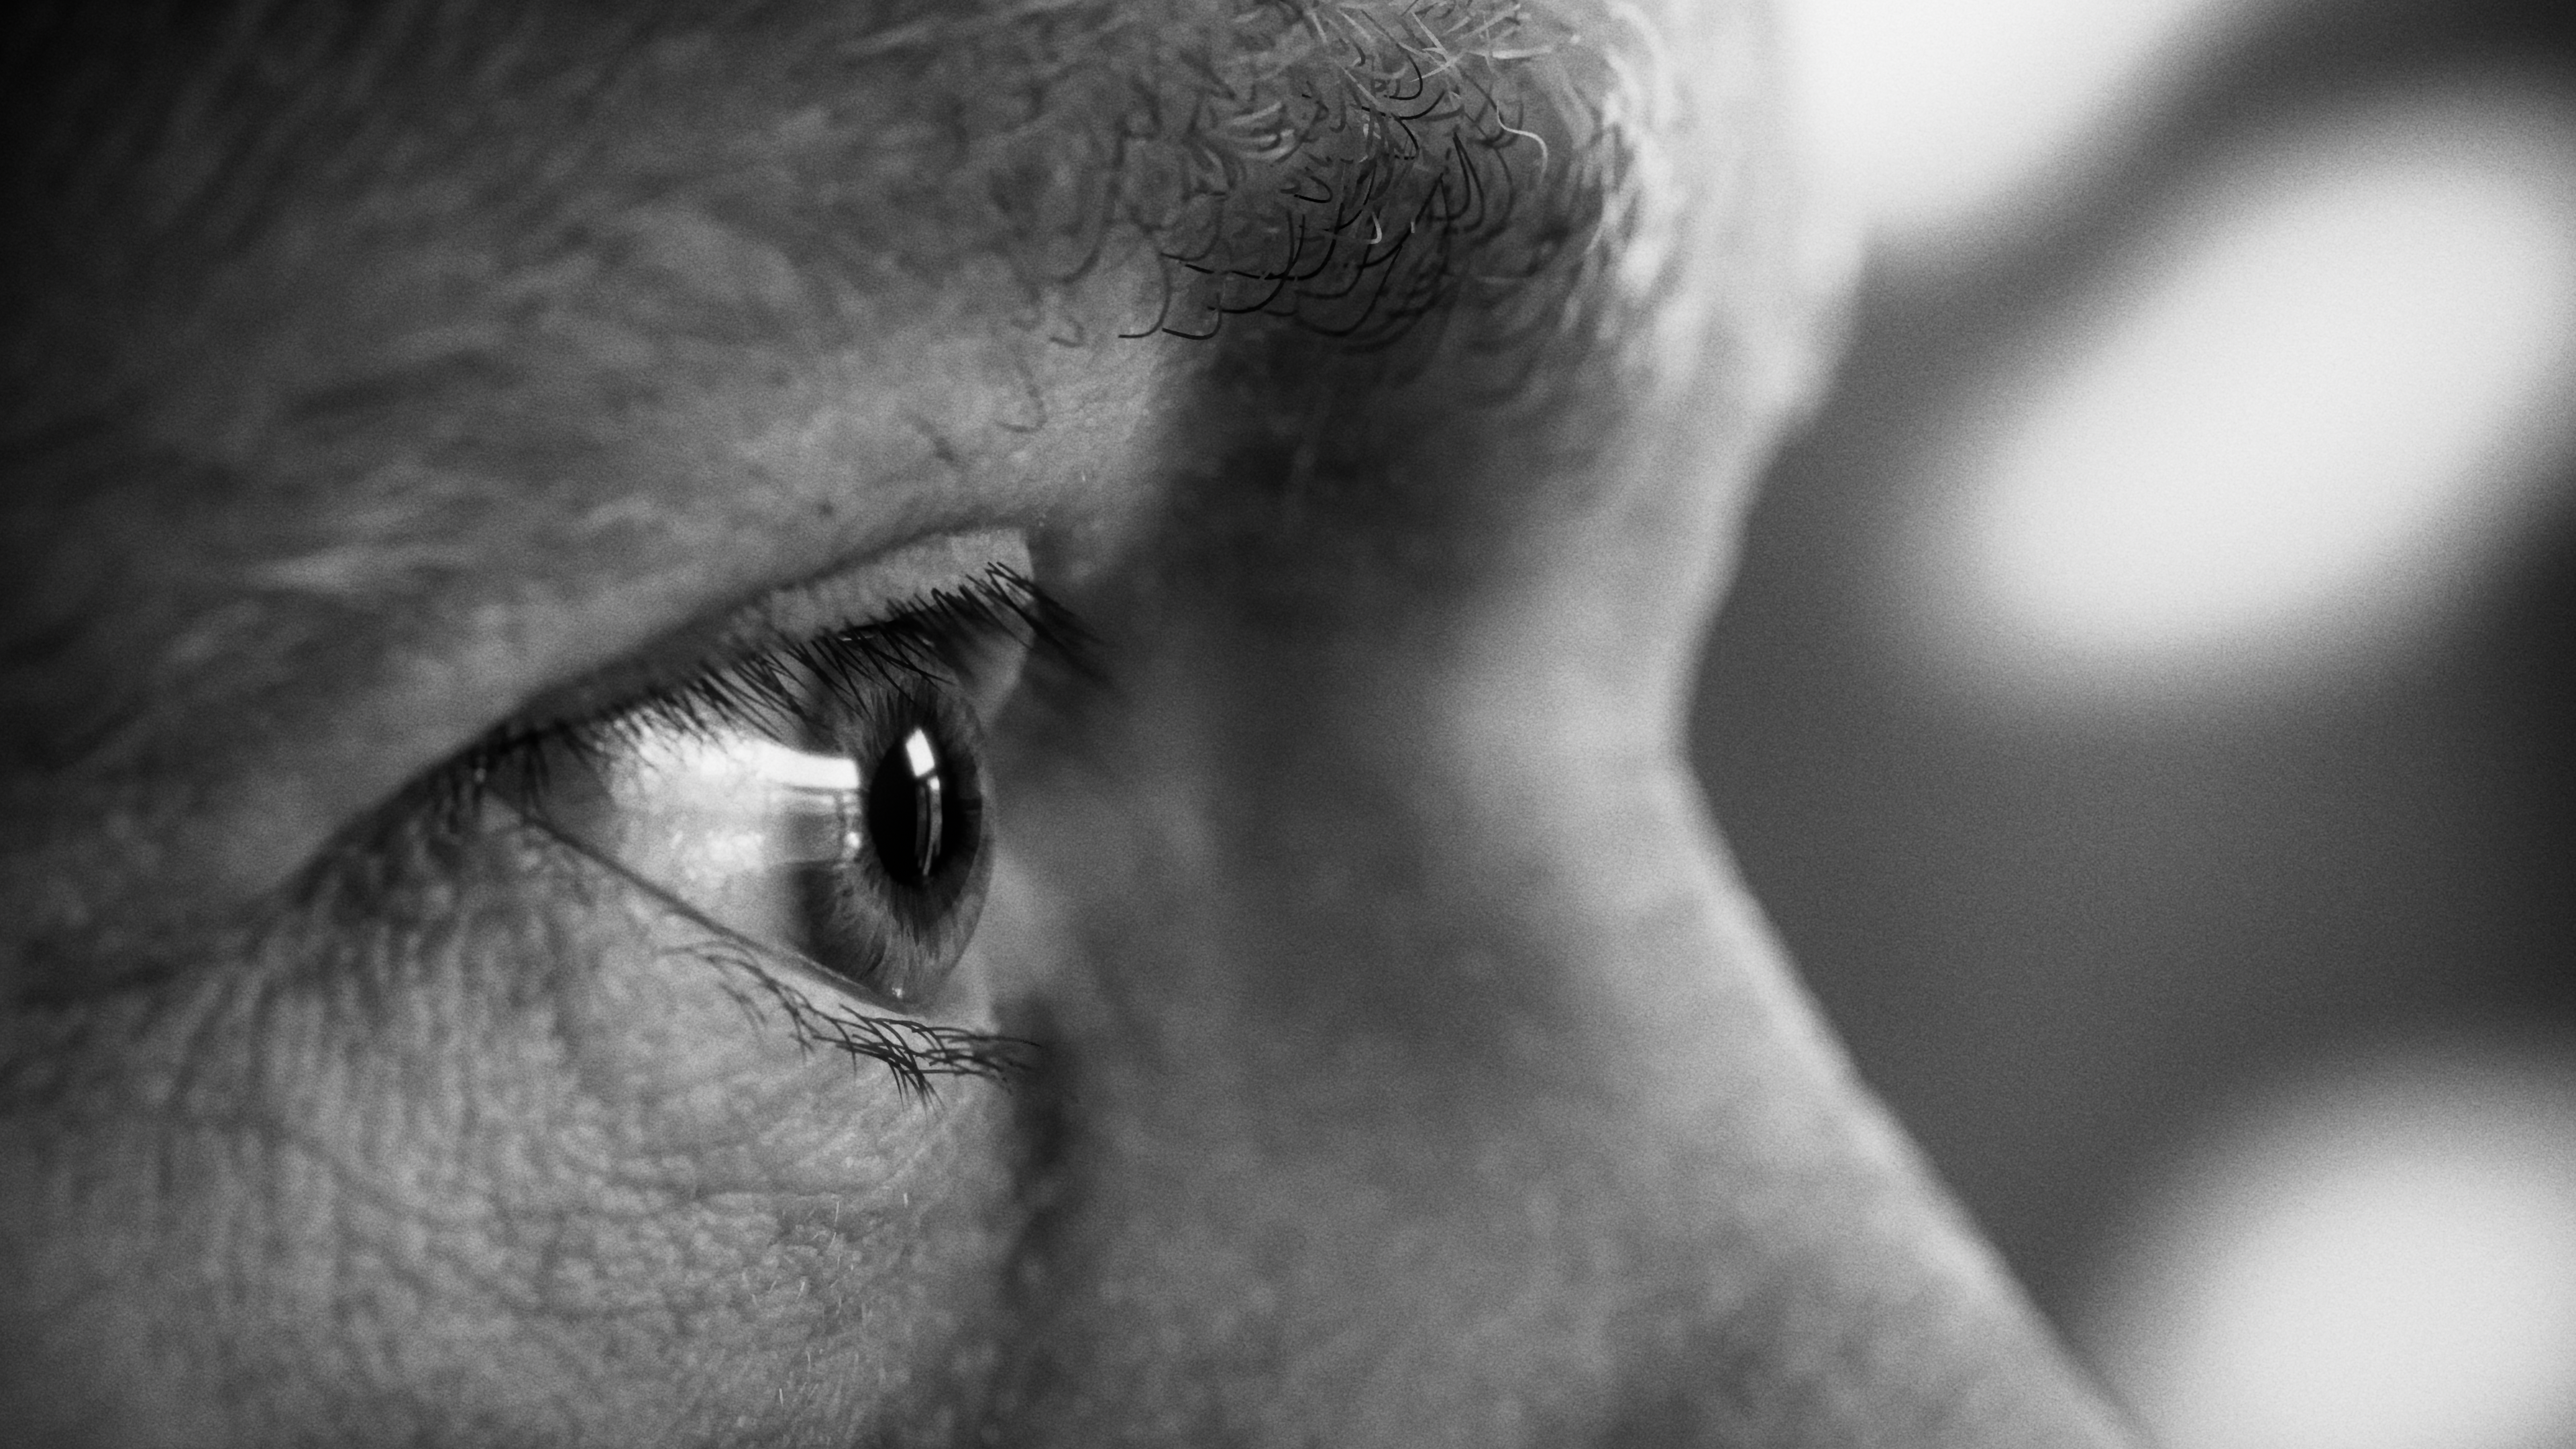
Here is some shots insipred by Daniel Boschung lighting
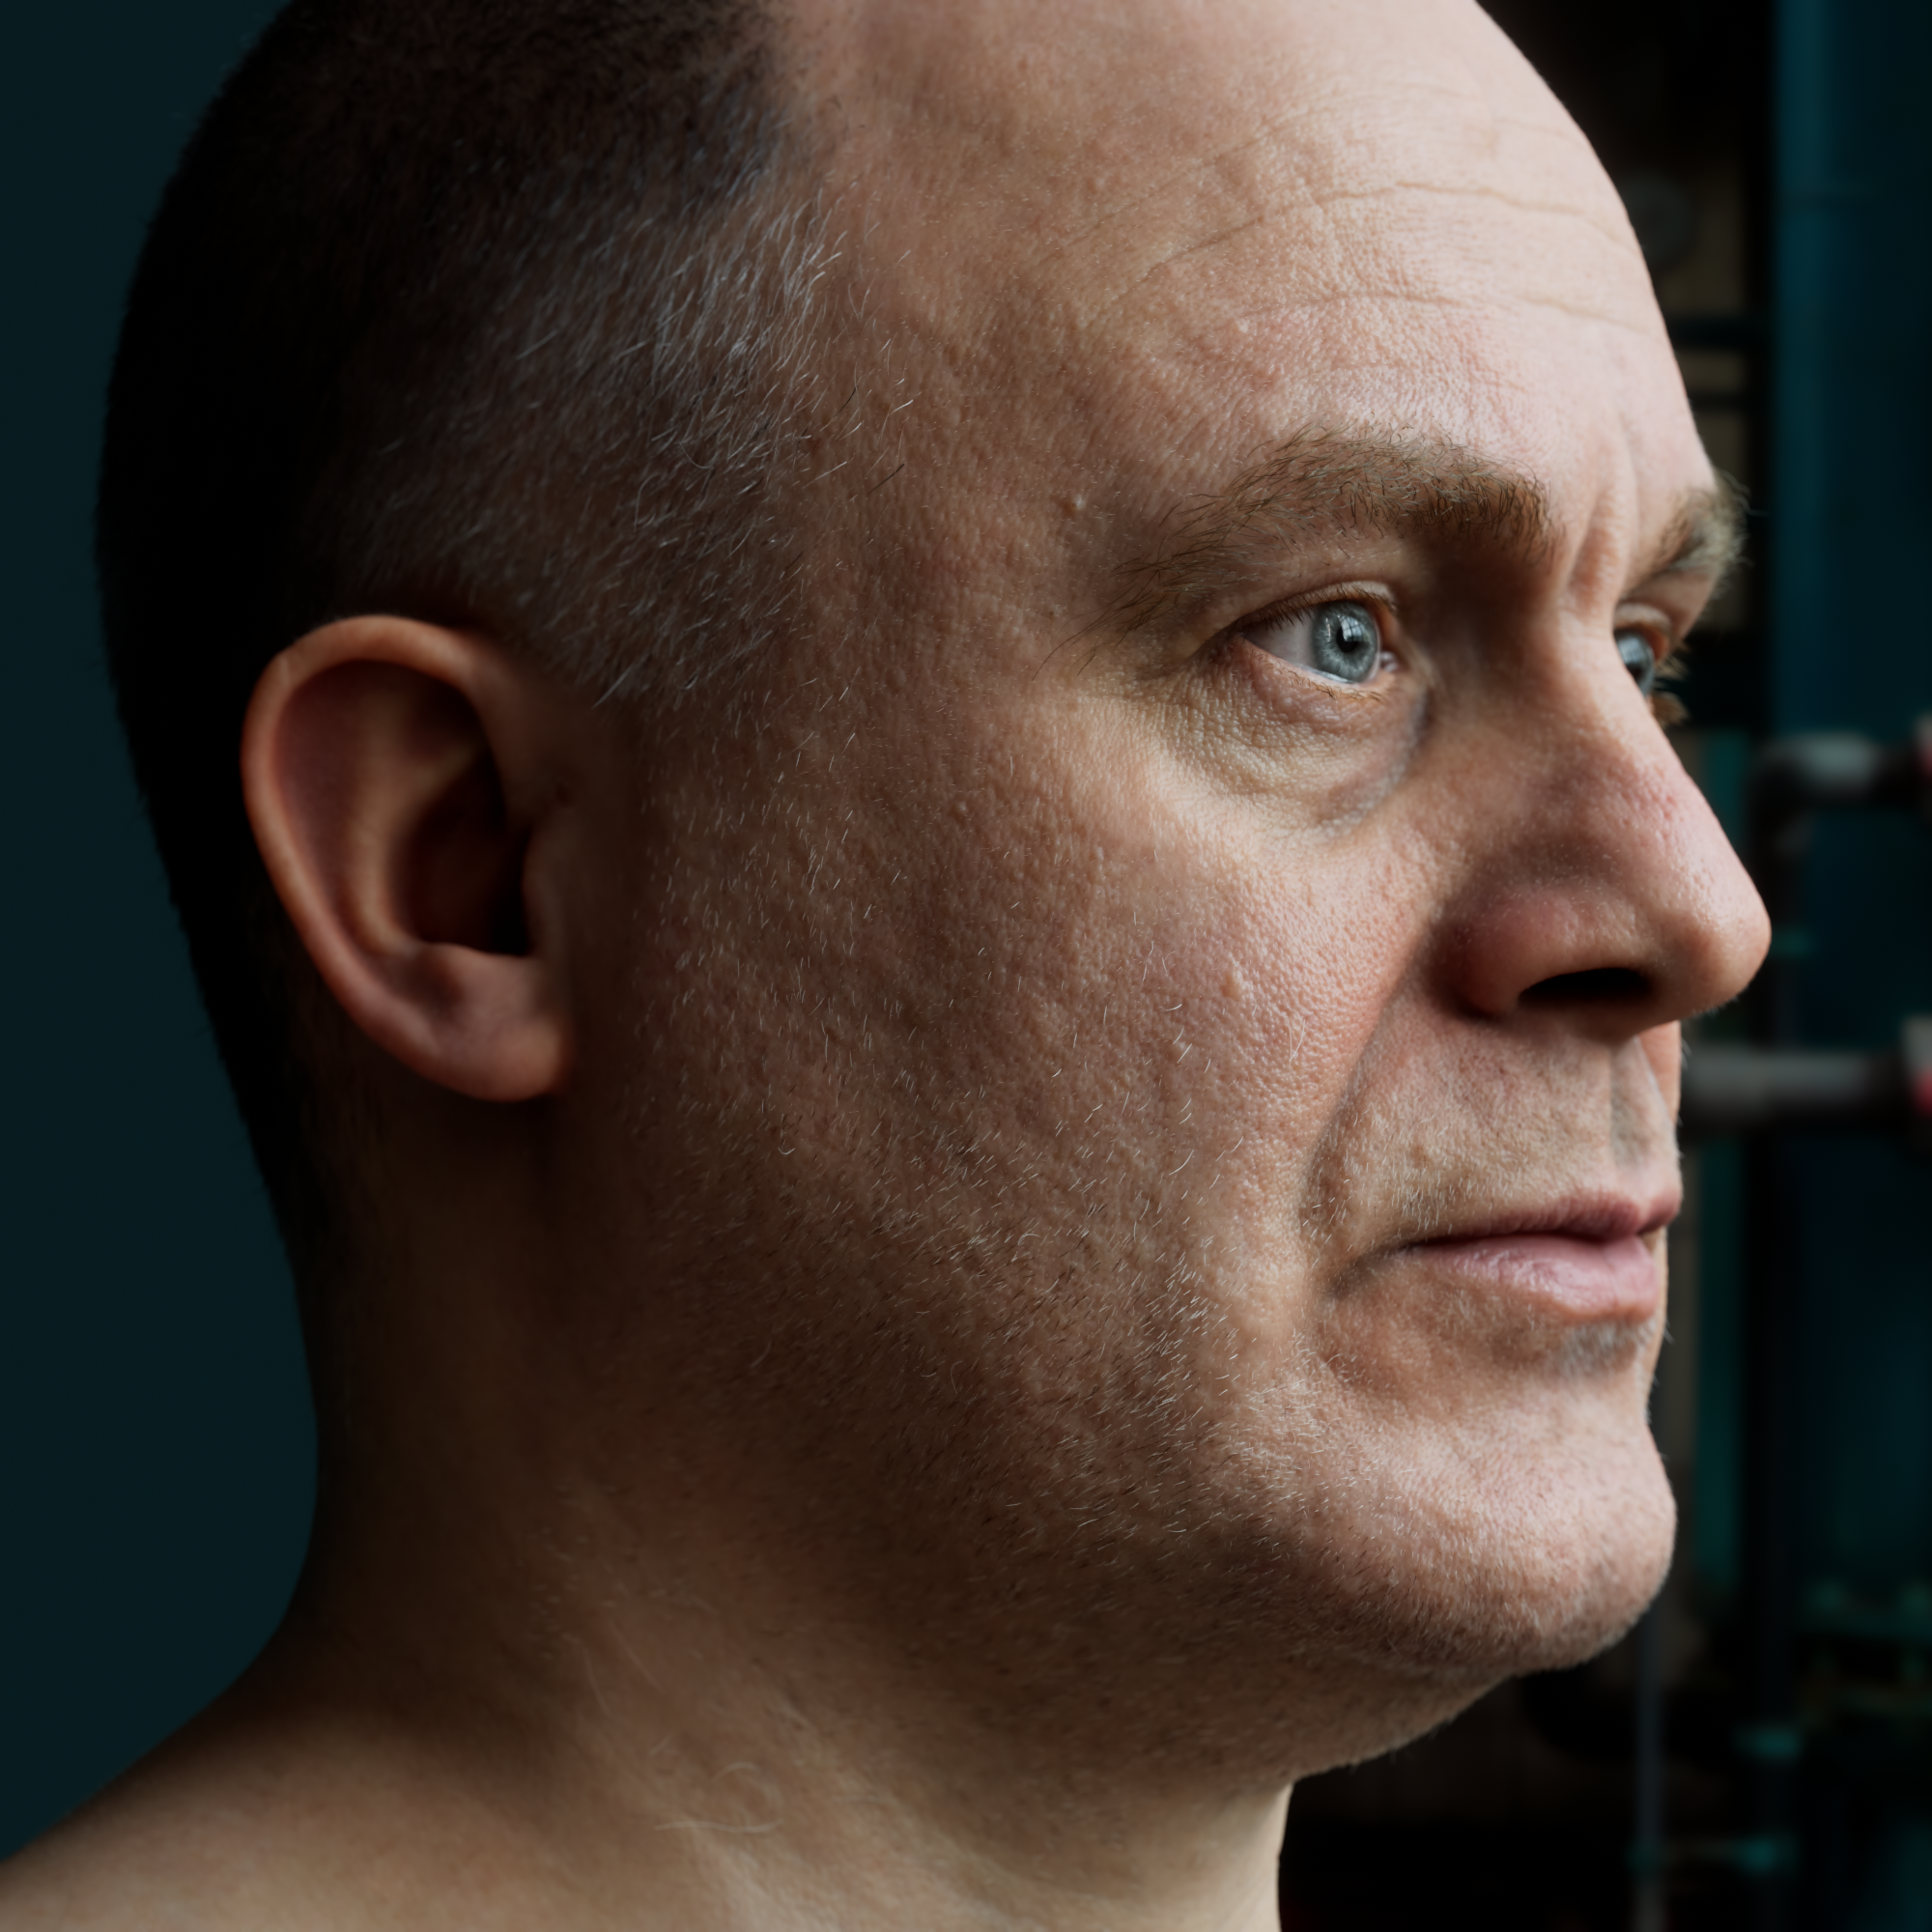
Below, you'll find a series of close-ups and renders demonstrating different steps of the process to final result. We've included breakdowns to give a better understanding of how Symbiote enhances digital human assets.
Work in Progress
Spiral Lighting References
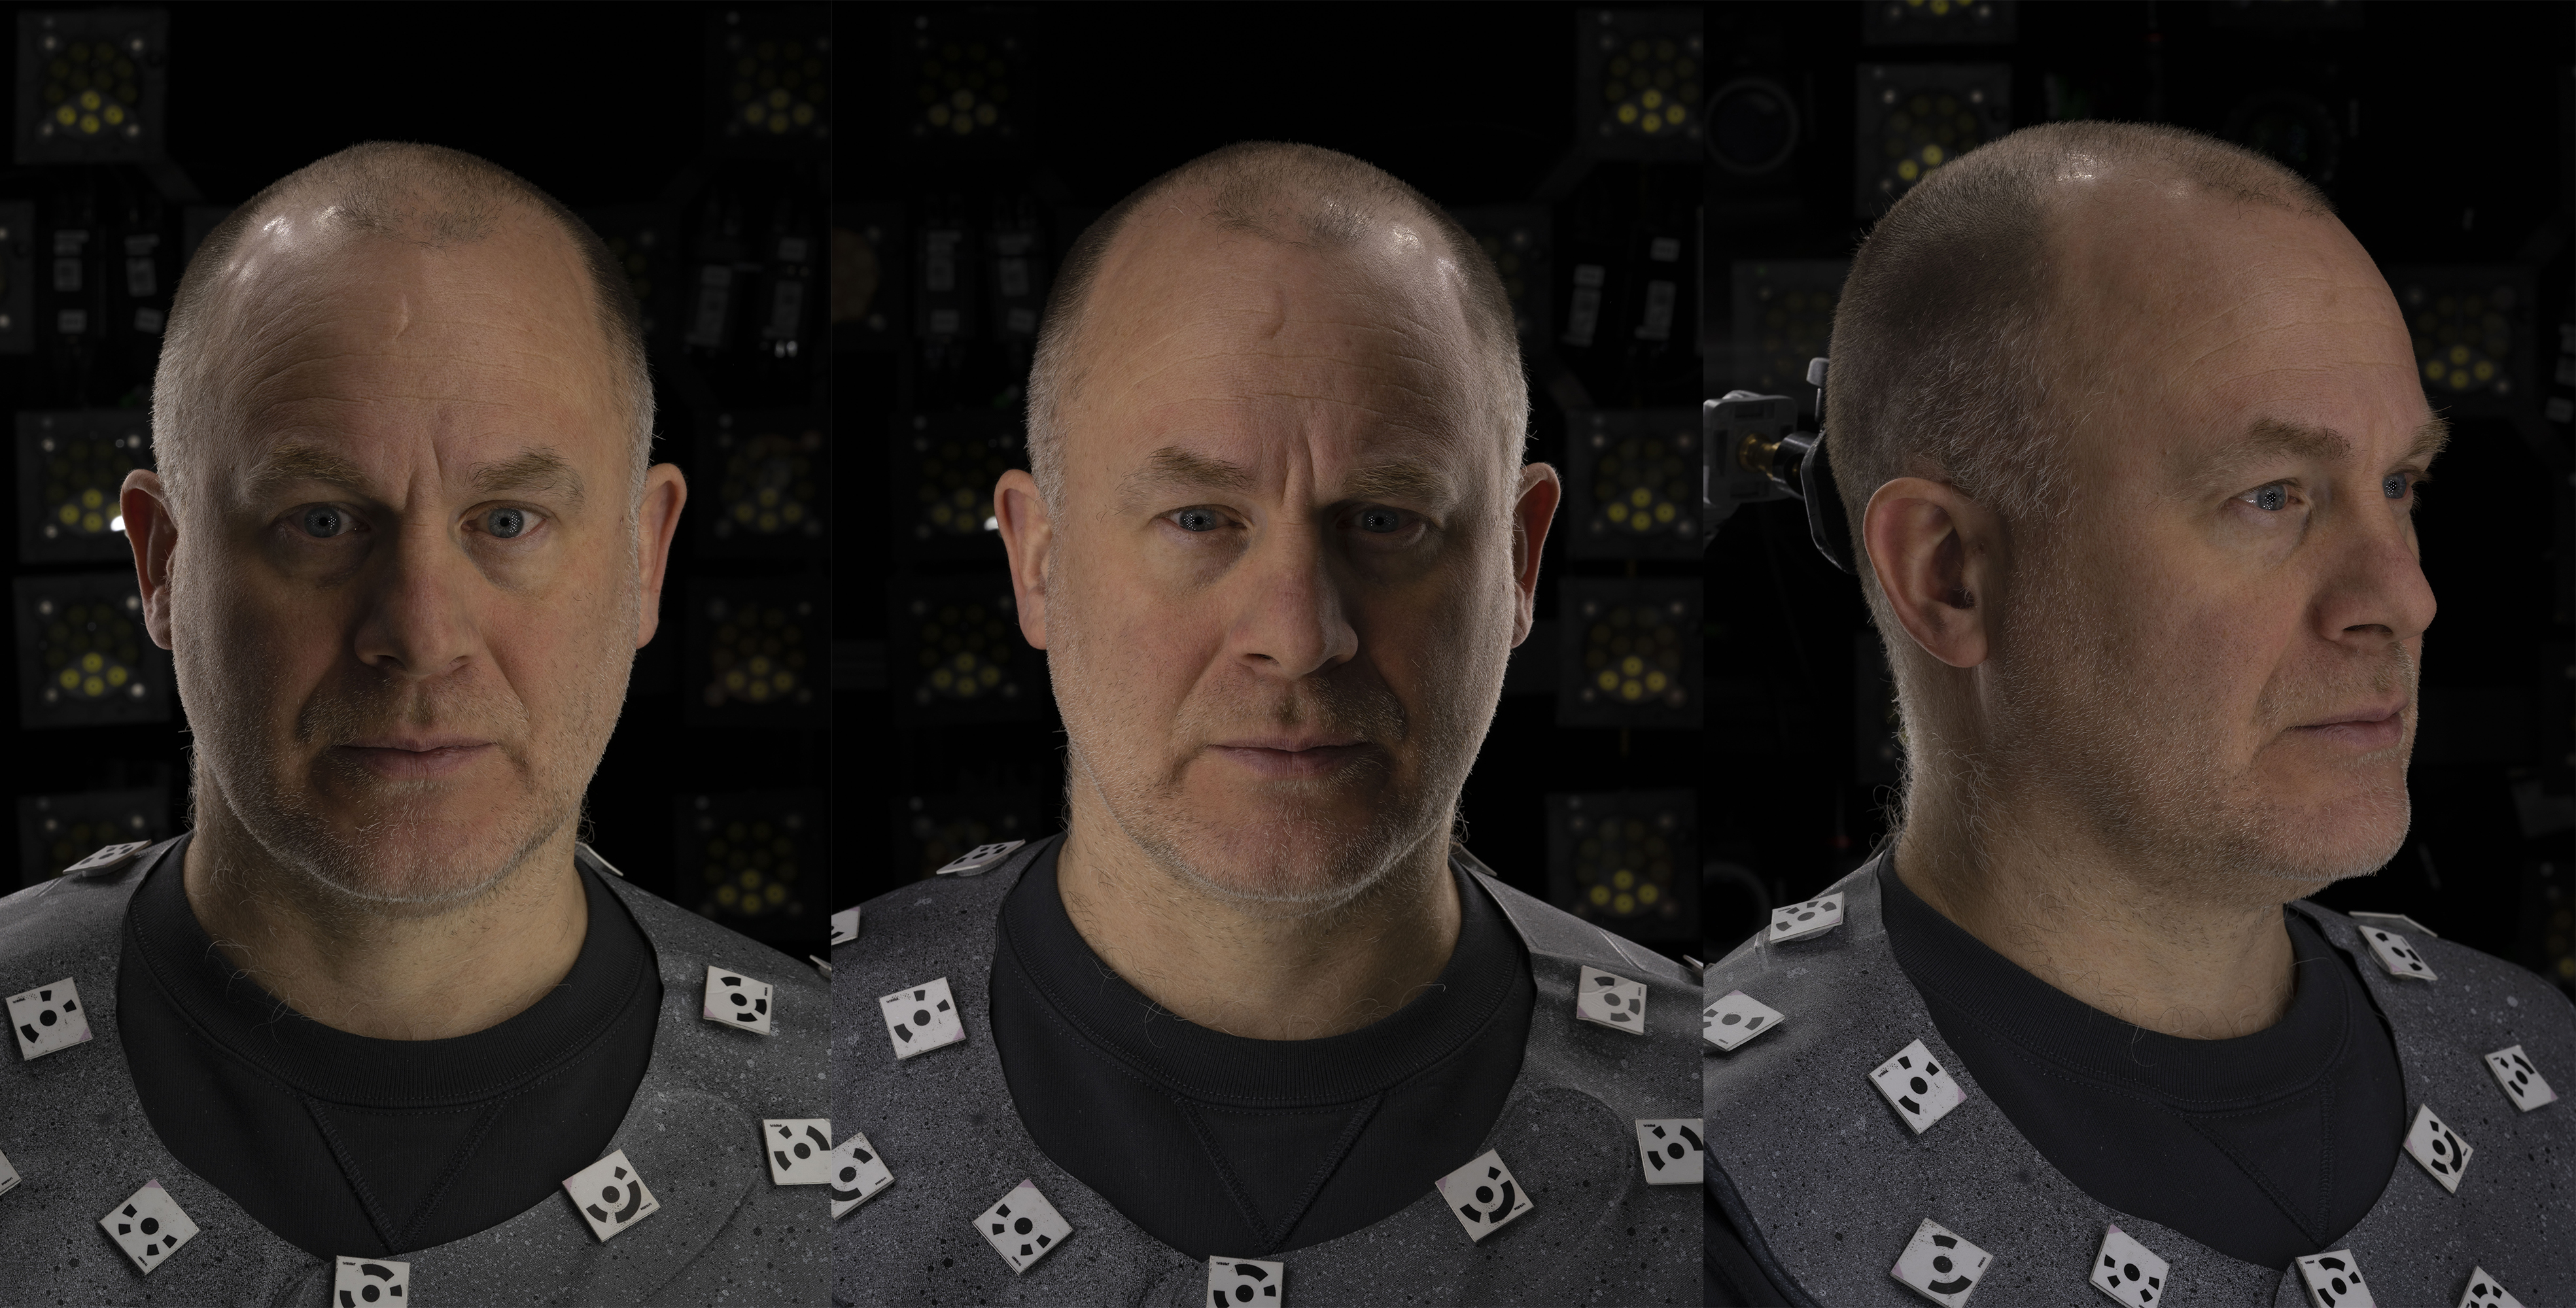
Spiral lighting references provided for better matching
For this part, we were given spiral lighting reference to match the likeness as closely as possible. To achieve this, we recreated the entire lookdev setup, replicating both the camera and lighting conditions from the reference. This approach allowed us to accurately match the intensity of the displacement and specular response across every area of the face.

Cleaning and adjustments

Basemesh provided by Clear Angle Studios
For this part, we also applied mesh adjustments and cleanup to achieve a more accurate match with the references. Particularly around the eyelids and beard area, where the initial scan required additional refinement for a more natural an better match.
These corrections allowed us to preserve the fidelity of the scan while enhancing the overall fit and surface continuity, ensuring the best possible starting point for the next stages of the process.

We received 16K resolution texture maps from Clear Angle Studios, delivered in EXR format. These maps were captured using the Dorothy photometric capture system, including an albedo map, specular map, multichannel displacement, and worldspace normal map.
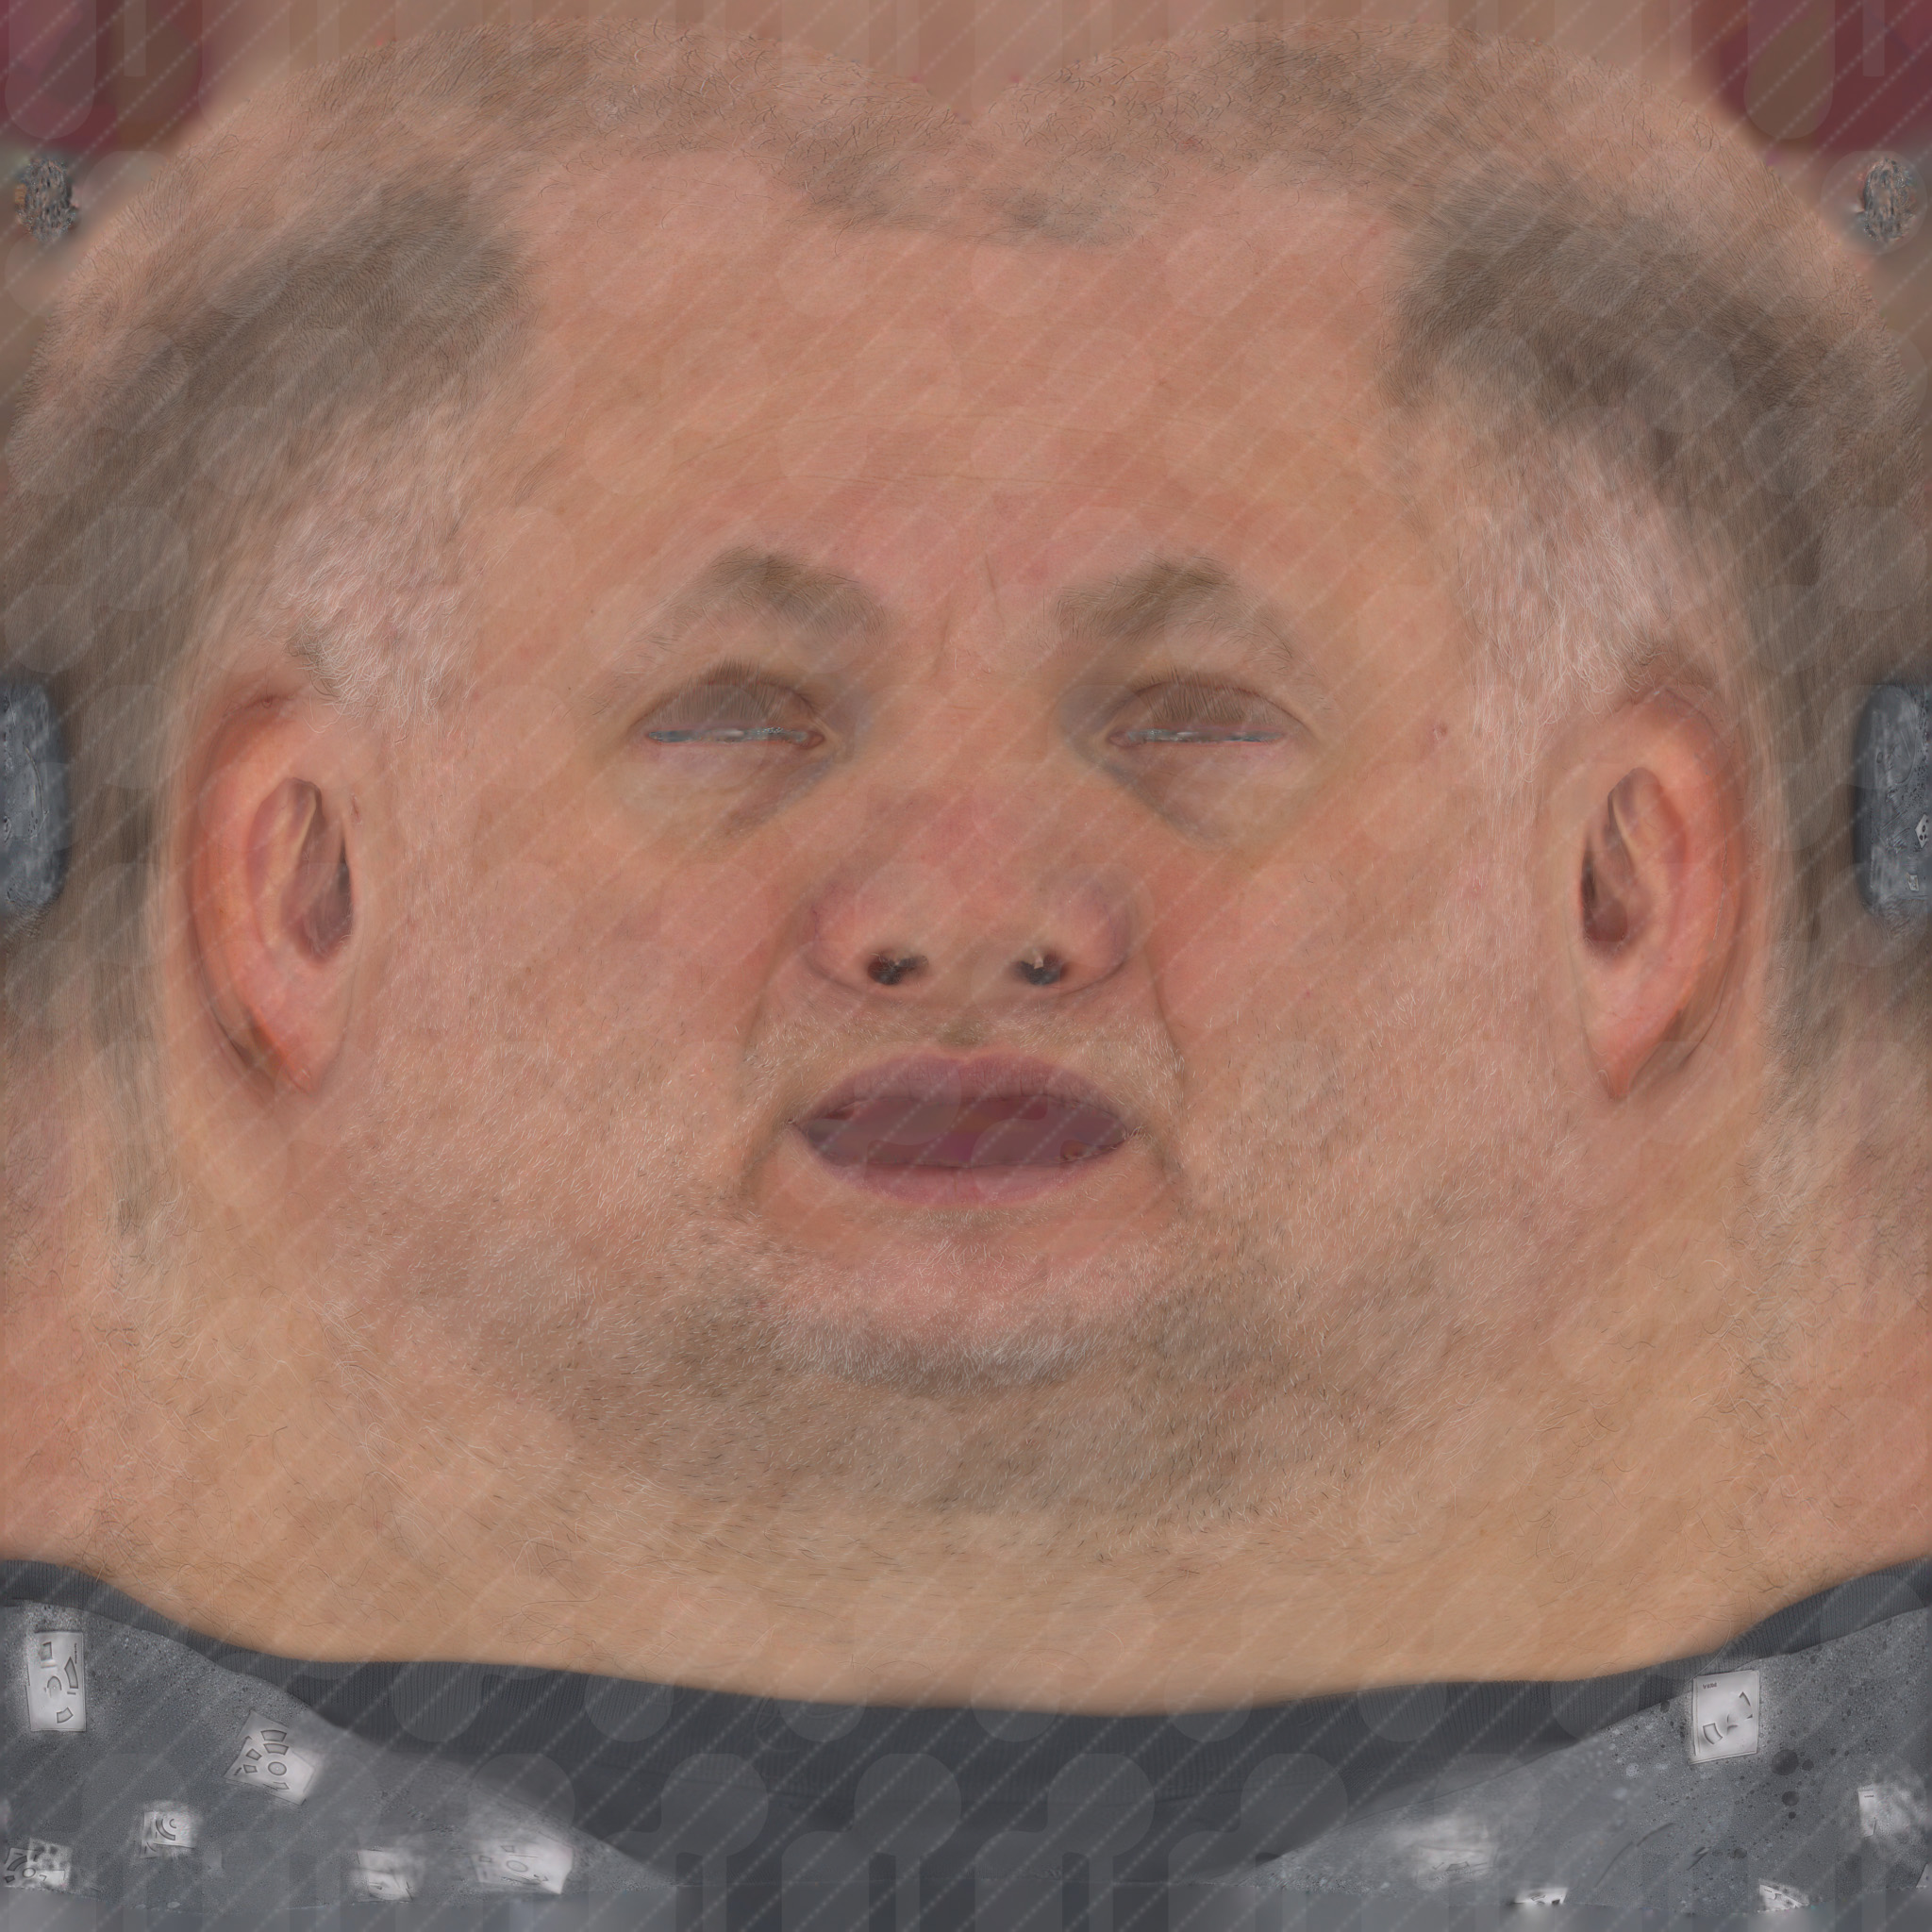

We carried out a cleanup pass on the maps, primarily on the albedo map, which contained unshaven beard stubble from the model Ed Potton, to ensure a clean and neutral skin base for the texturing process.
Skin shader

For the skin setup, we naturally rely on the spiral lighting reference. Once the match light is established, we are ready to proceed with the skin shading setup.
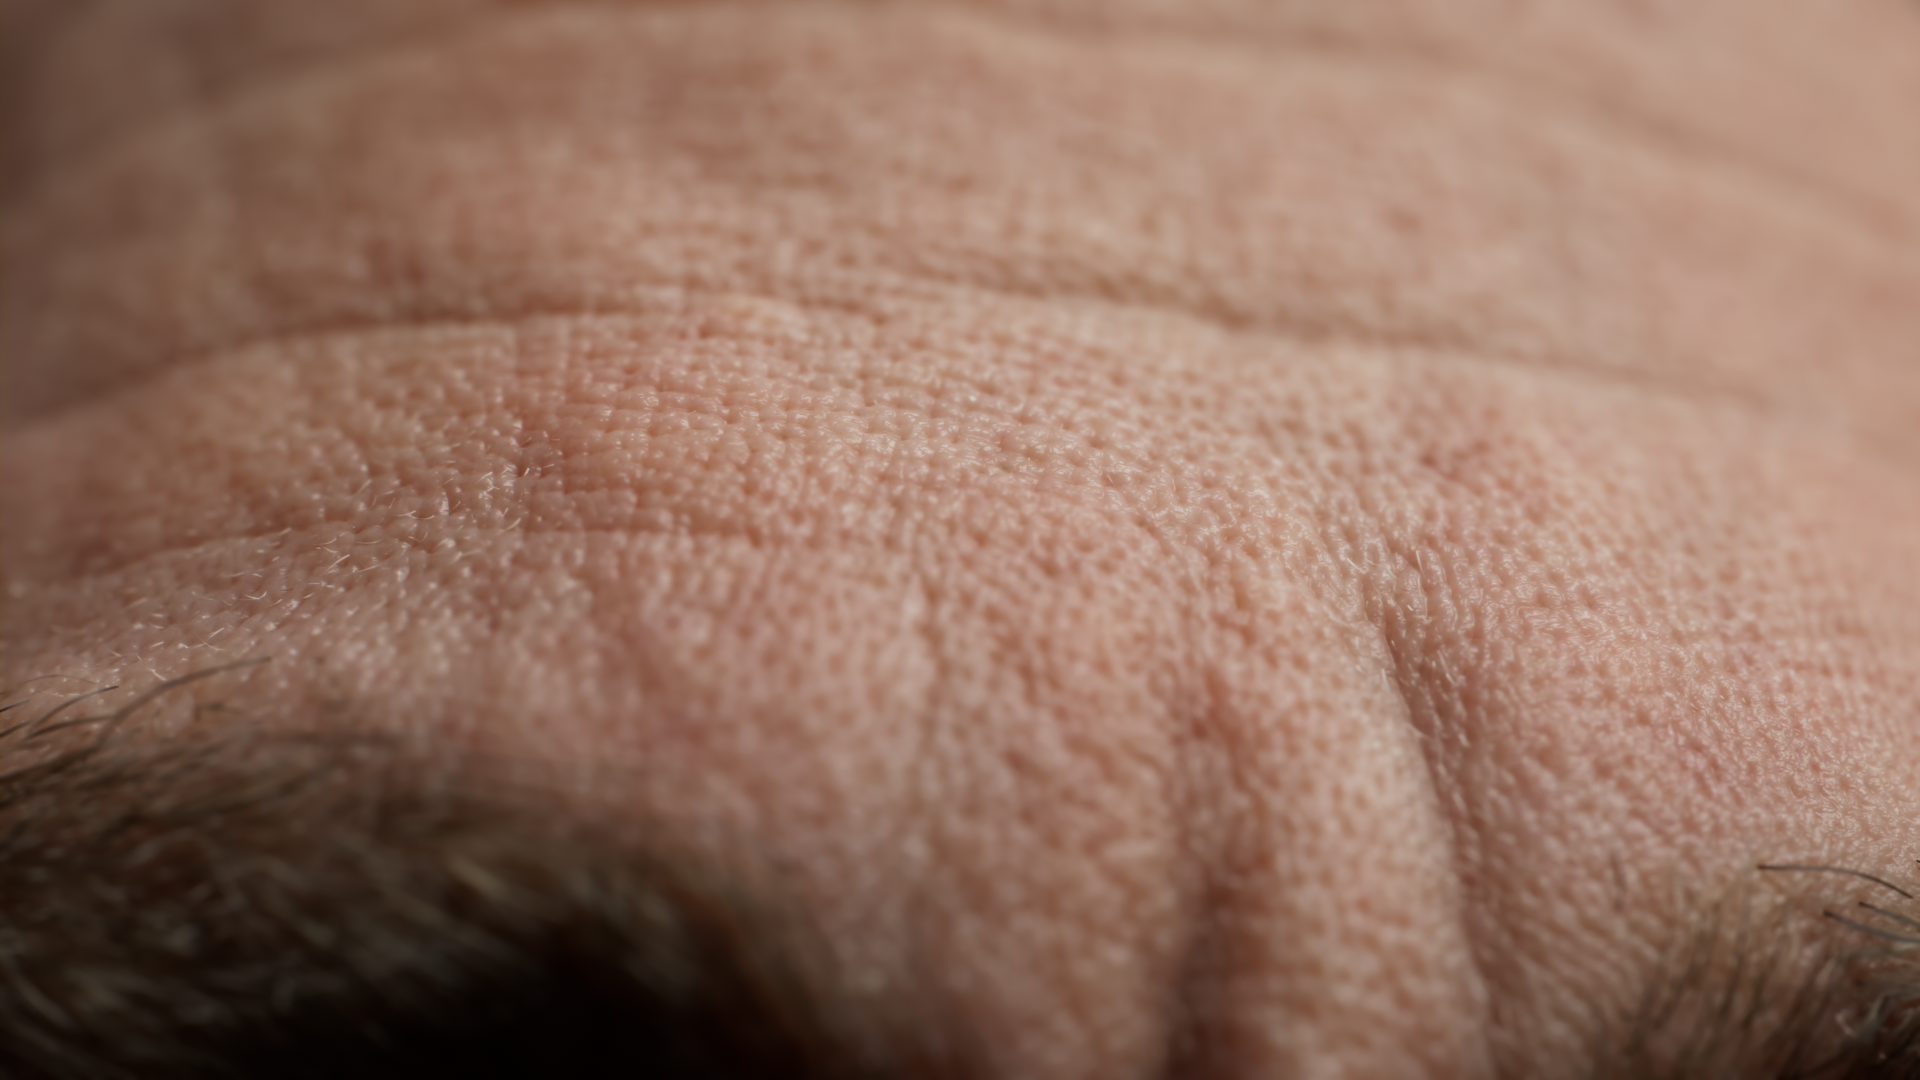
Our primary focus is on the surface volumes and how light interacts with them. The process begins with a classic specular and roughness setup. It is essential to use multiple specular lobes. To accurately reproduce the skin's natural reflectivity. Once this foundation is in place, we move on to a more detailed calibration of the skin's microstructures.
Surfacing

Selection of the favorite maps from Hyperlook X used by our artists on this project


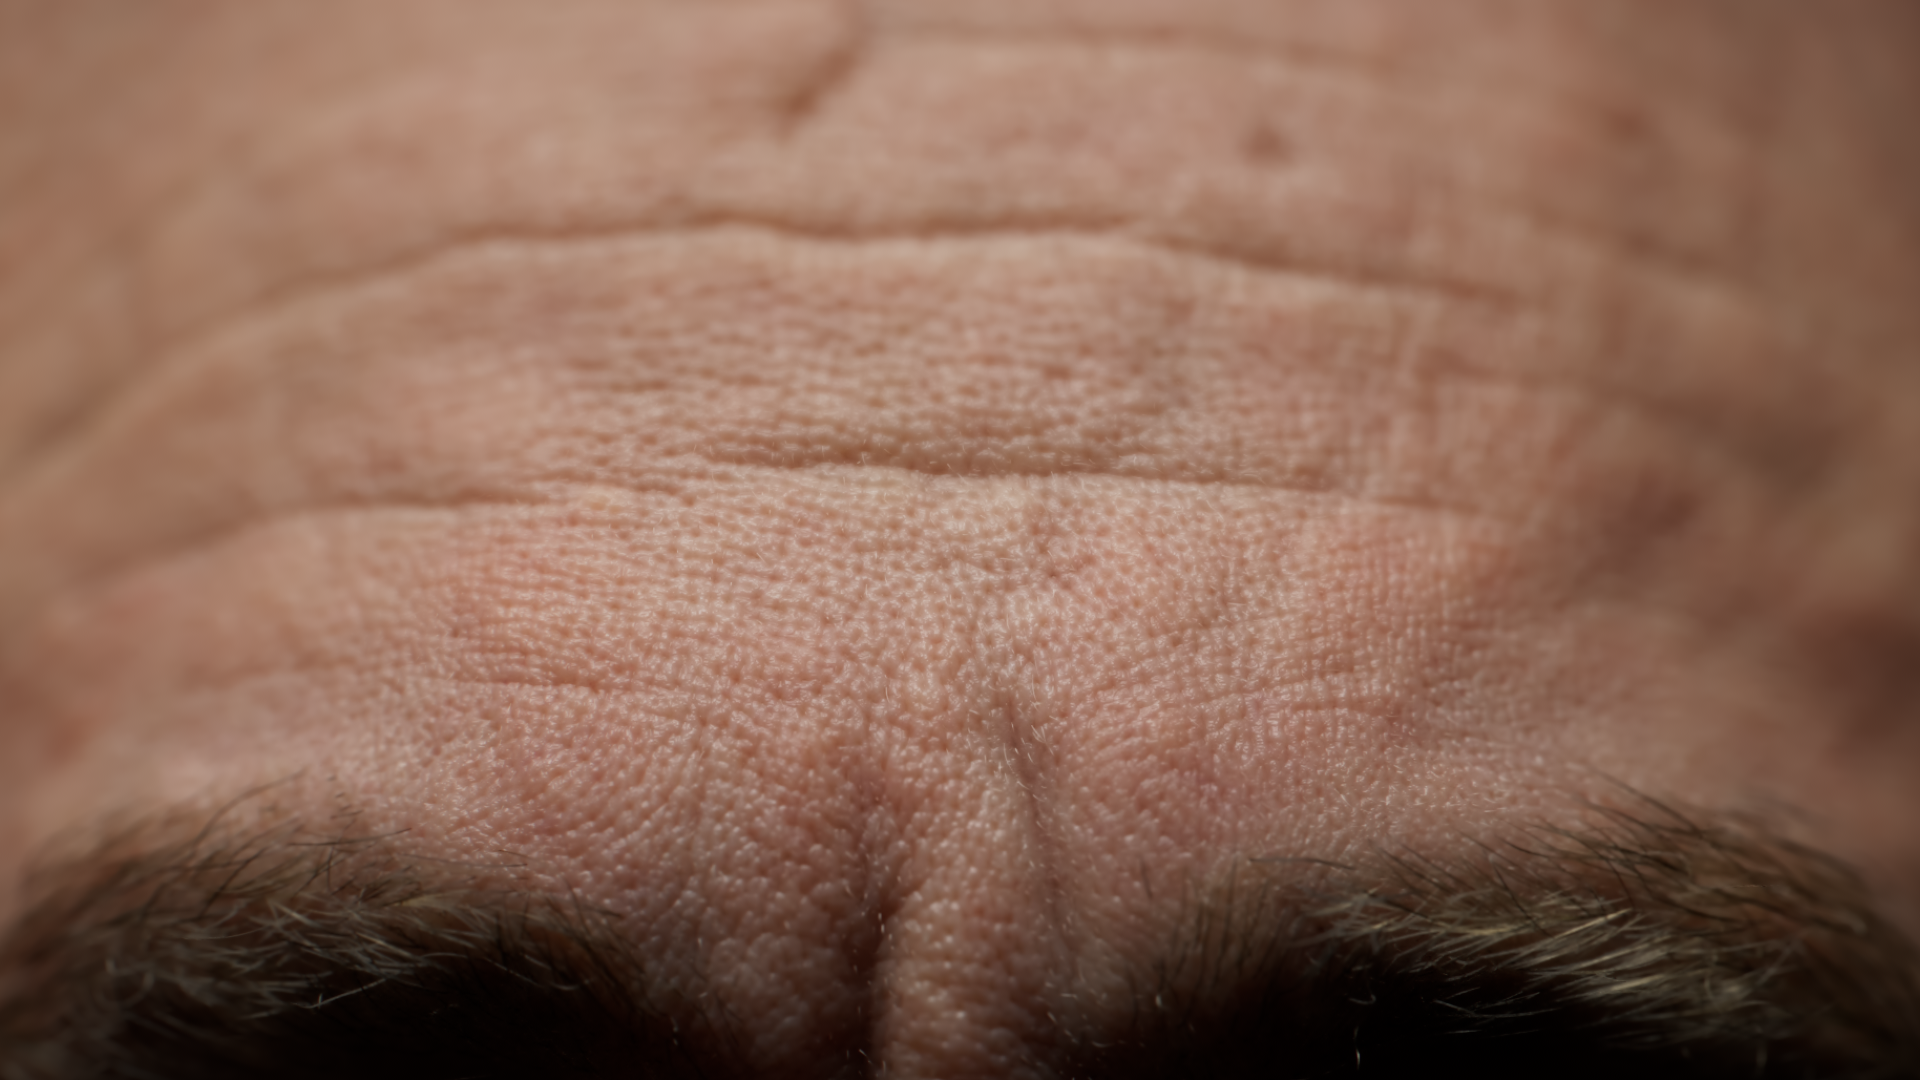
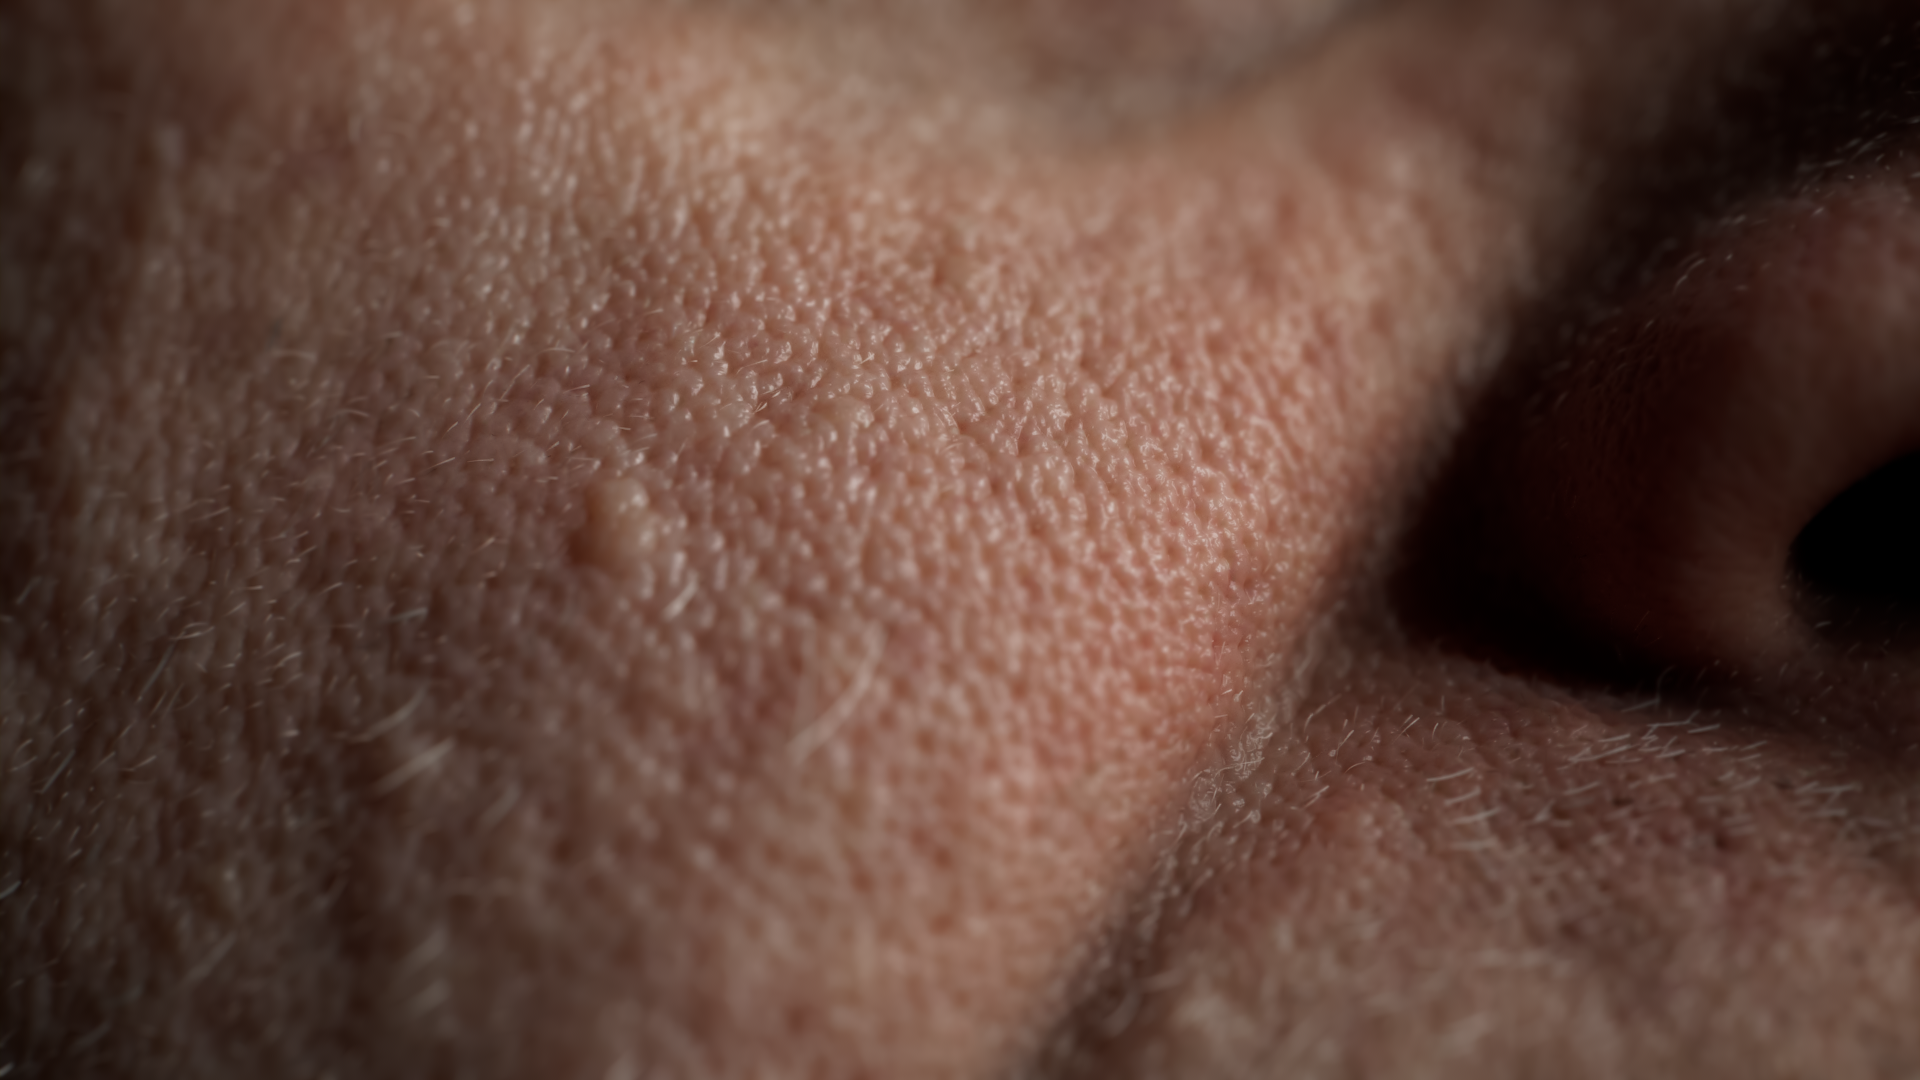
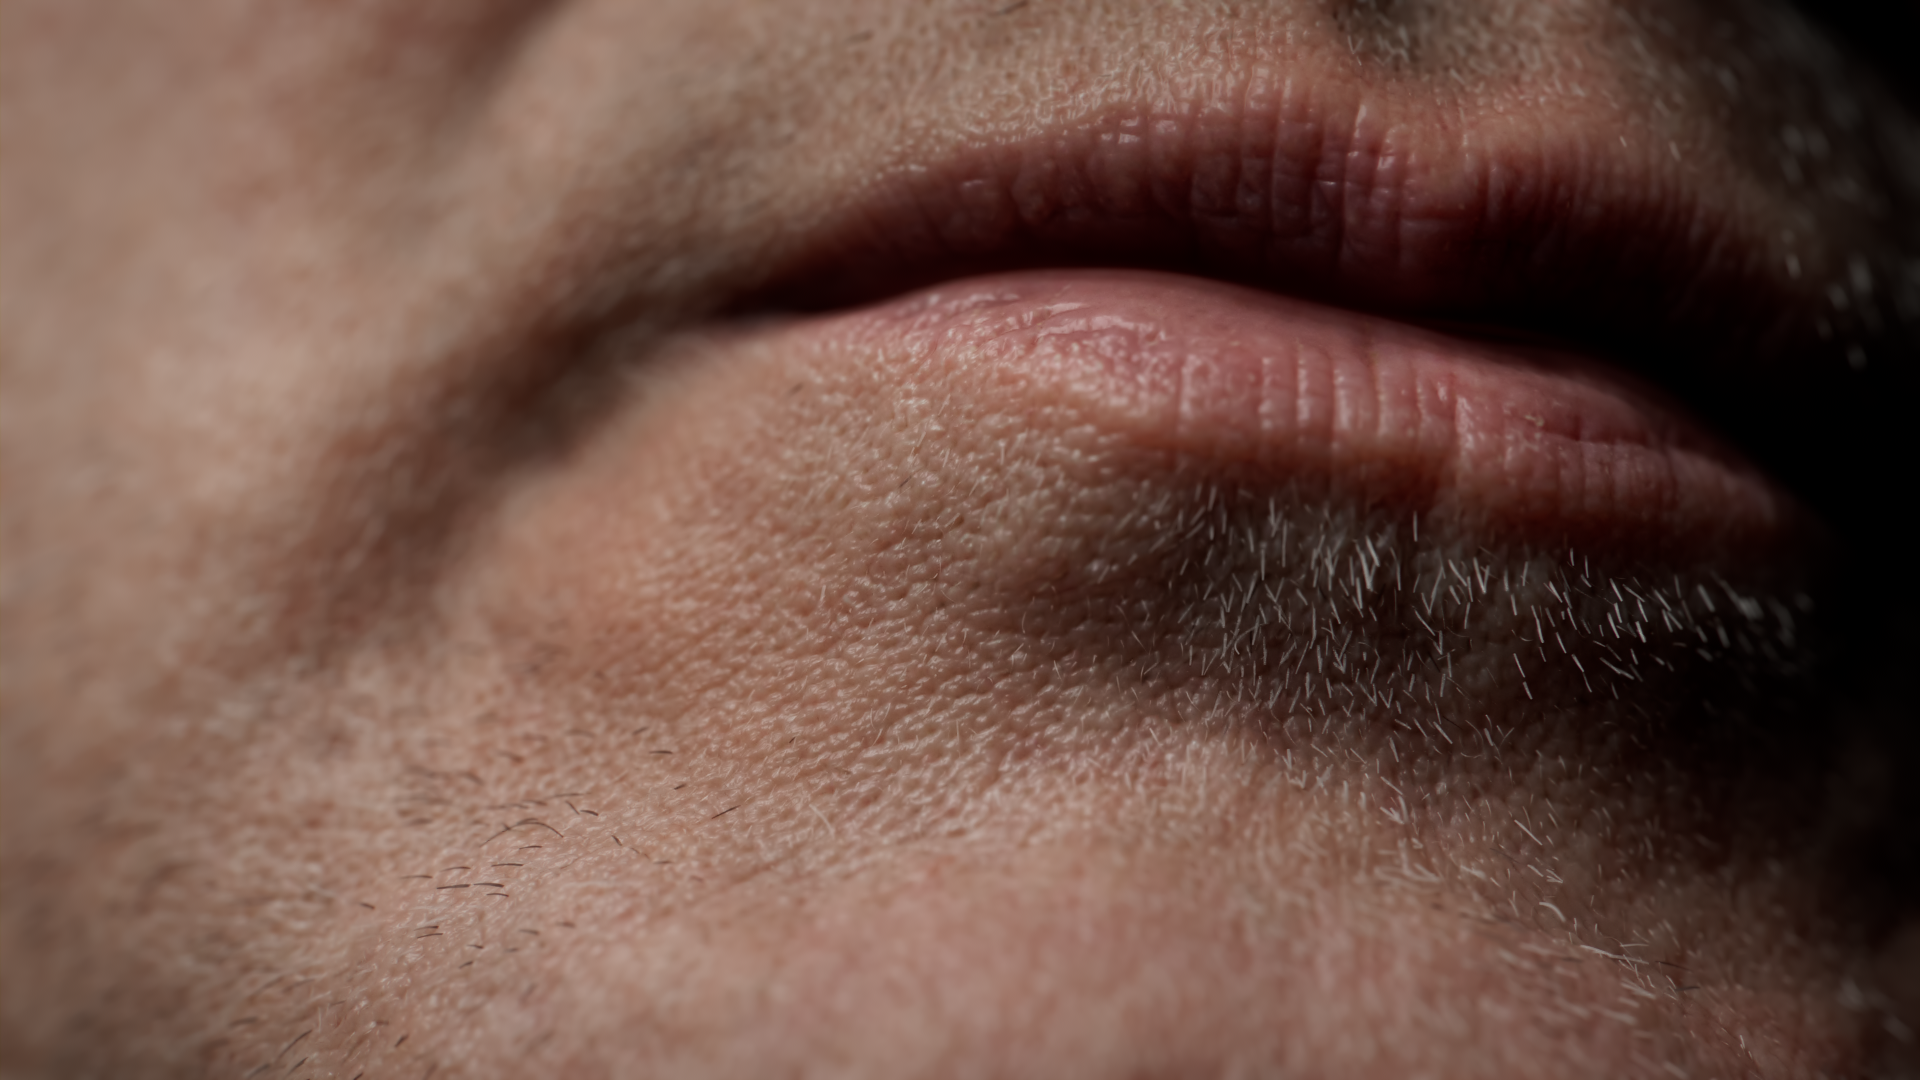
Every step is meticulously adjusted, from wrinkles and their flow to pores and microdetails, across the different facial zones. Each of which requires a unique approach to preserve its distinctive characteristics.
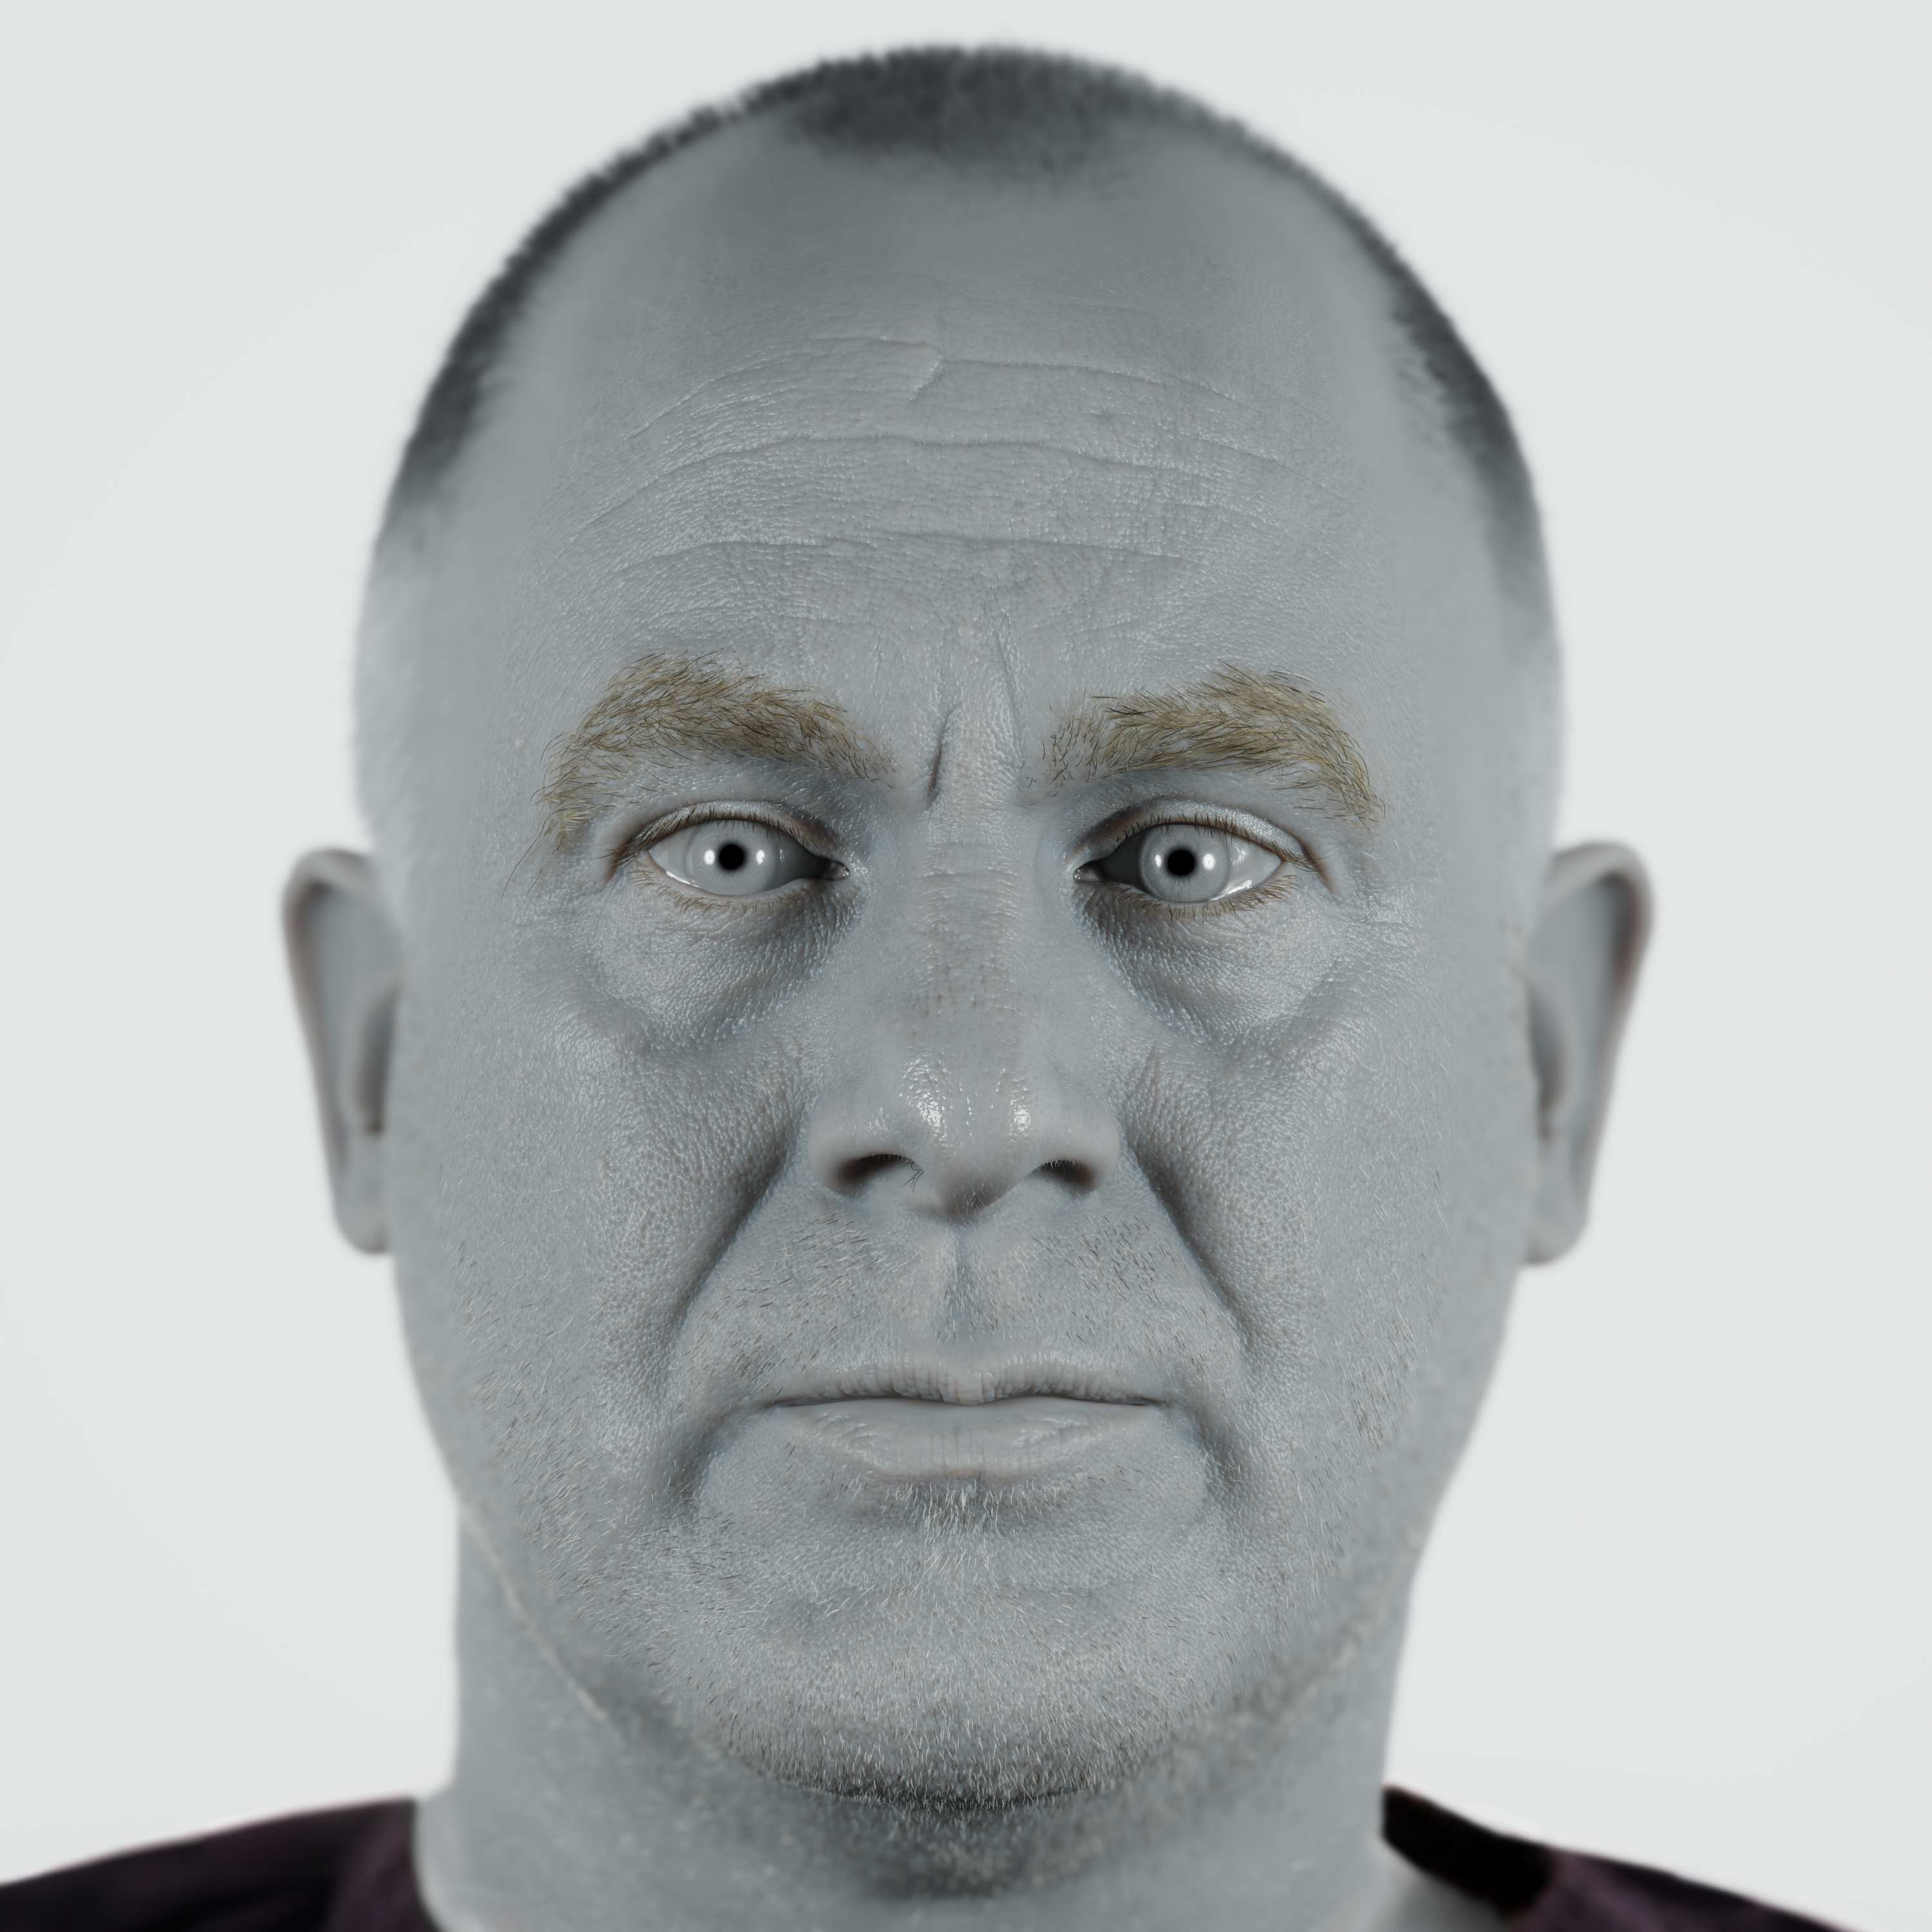
To avoid any distraction caused by color, the initial setup is done using a neutral mid-gray shader, allowing us to prioritize volume readability and light interaction.


Once the first pass is complete, the skin color and subsurface scattering are introduced. This second pass allows for additional refinements to ensure the model aligns as closely as possible with the references provided by the client. Every stage of Symbiote’s workflow remains entirely data-driven, always staying faithful to the input received.
Grooming


We handled the grooming process of the asset, created with multiple descriptions to allow for independent control over each fur area of the face. Ensuring precise adjustments and seamless integration across all regions.
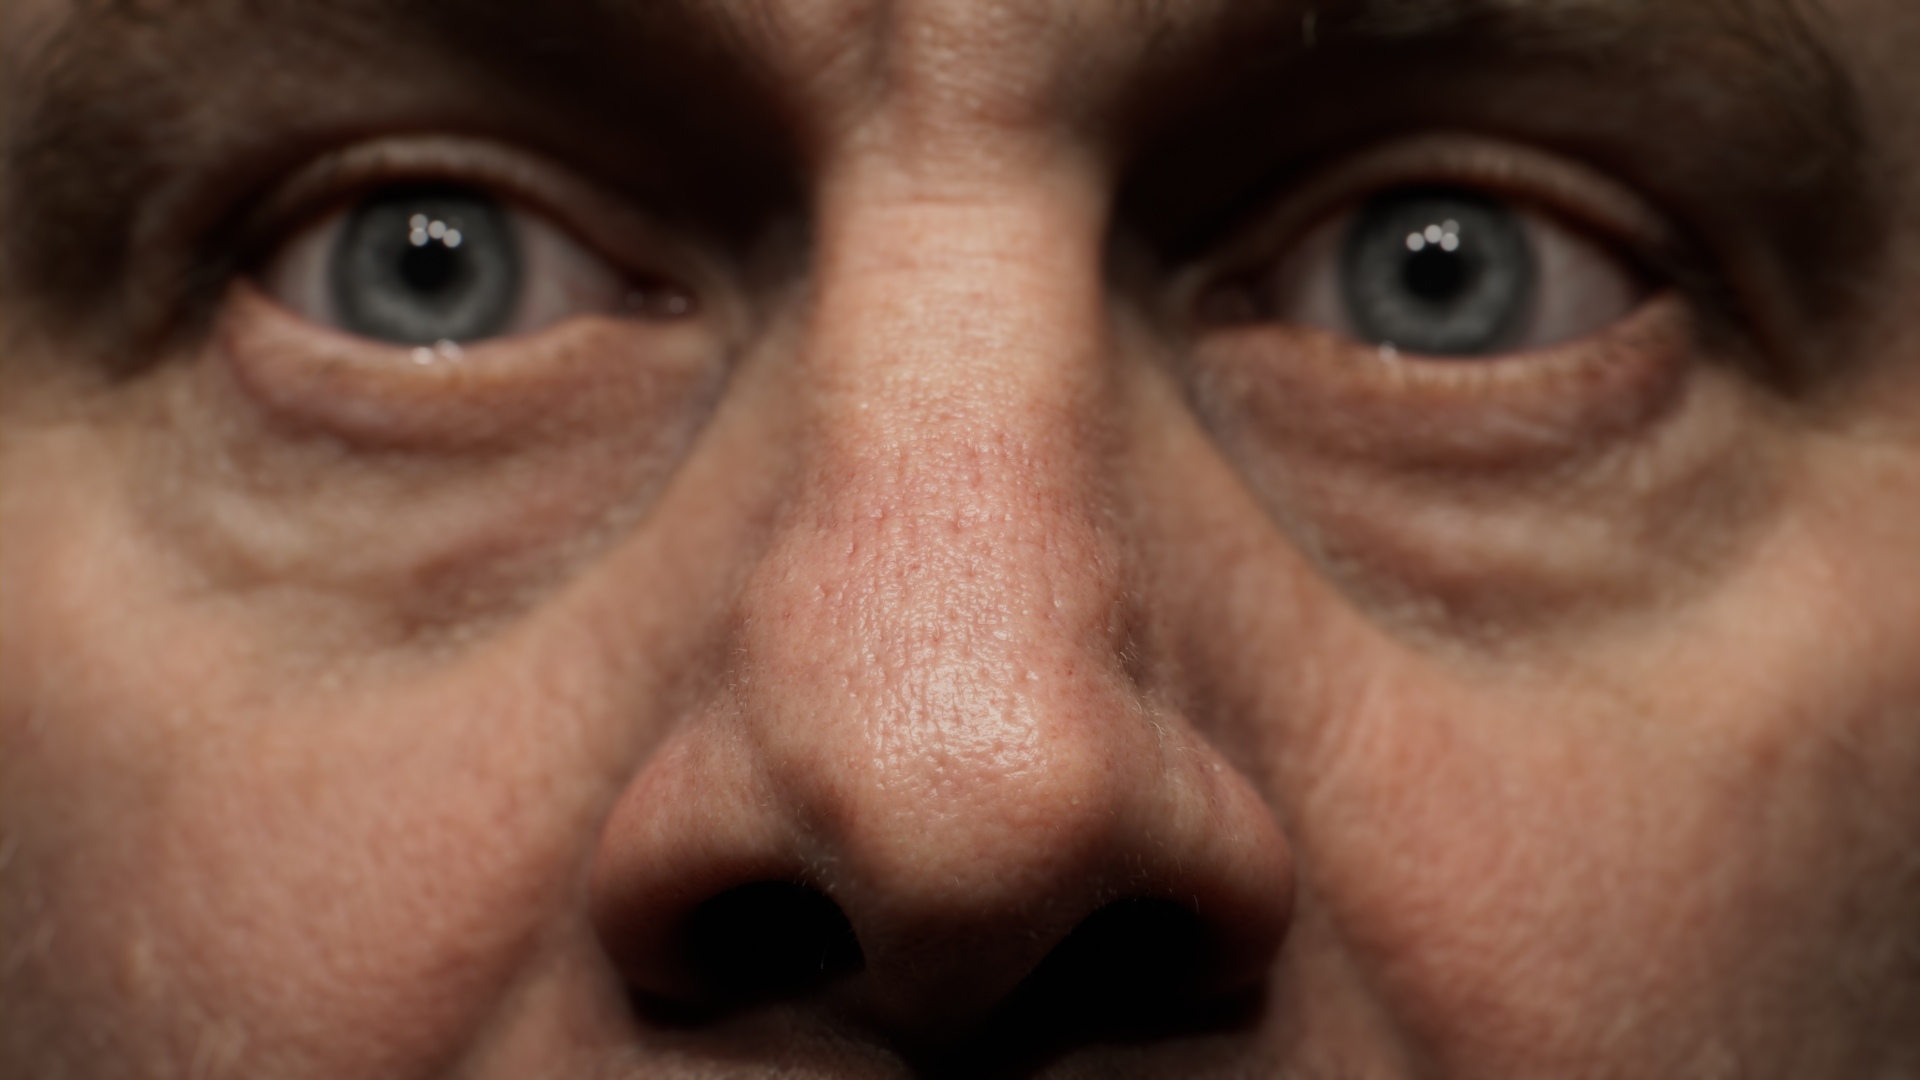
Eye Setup
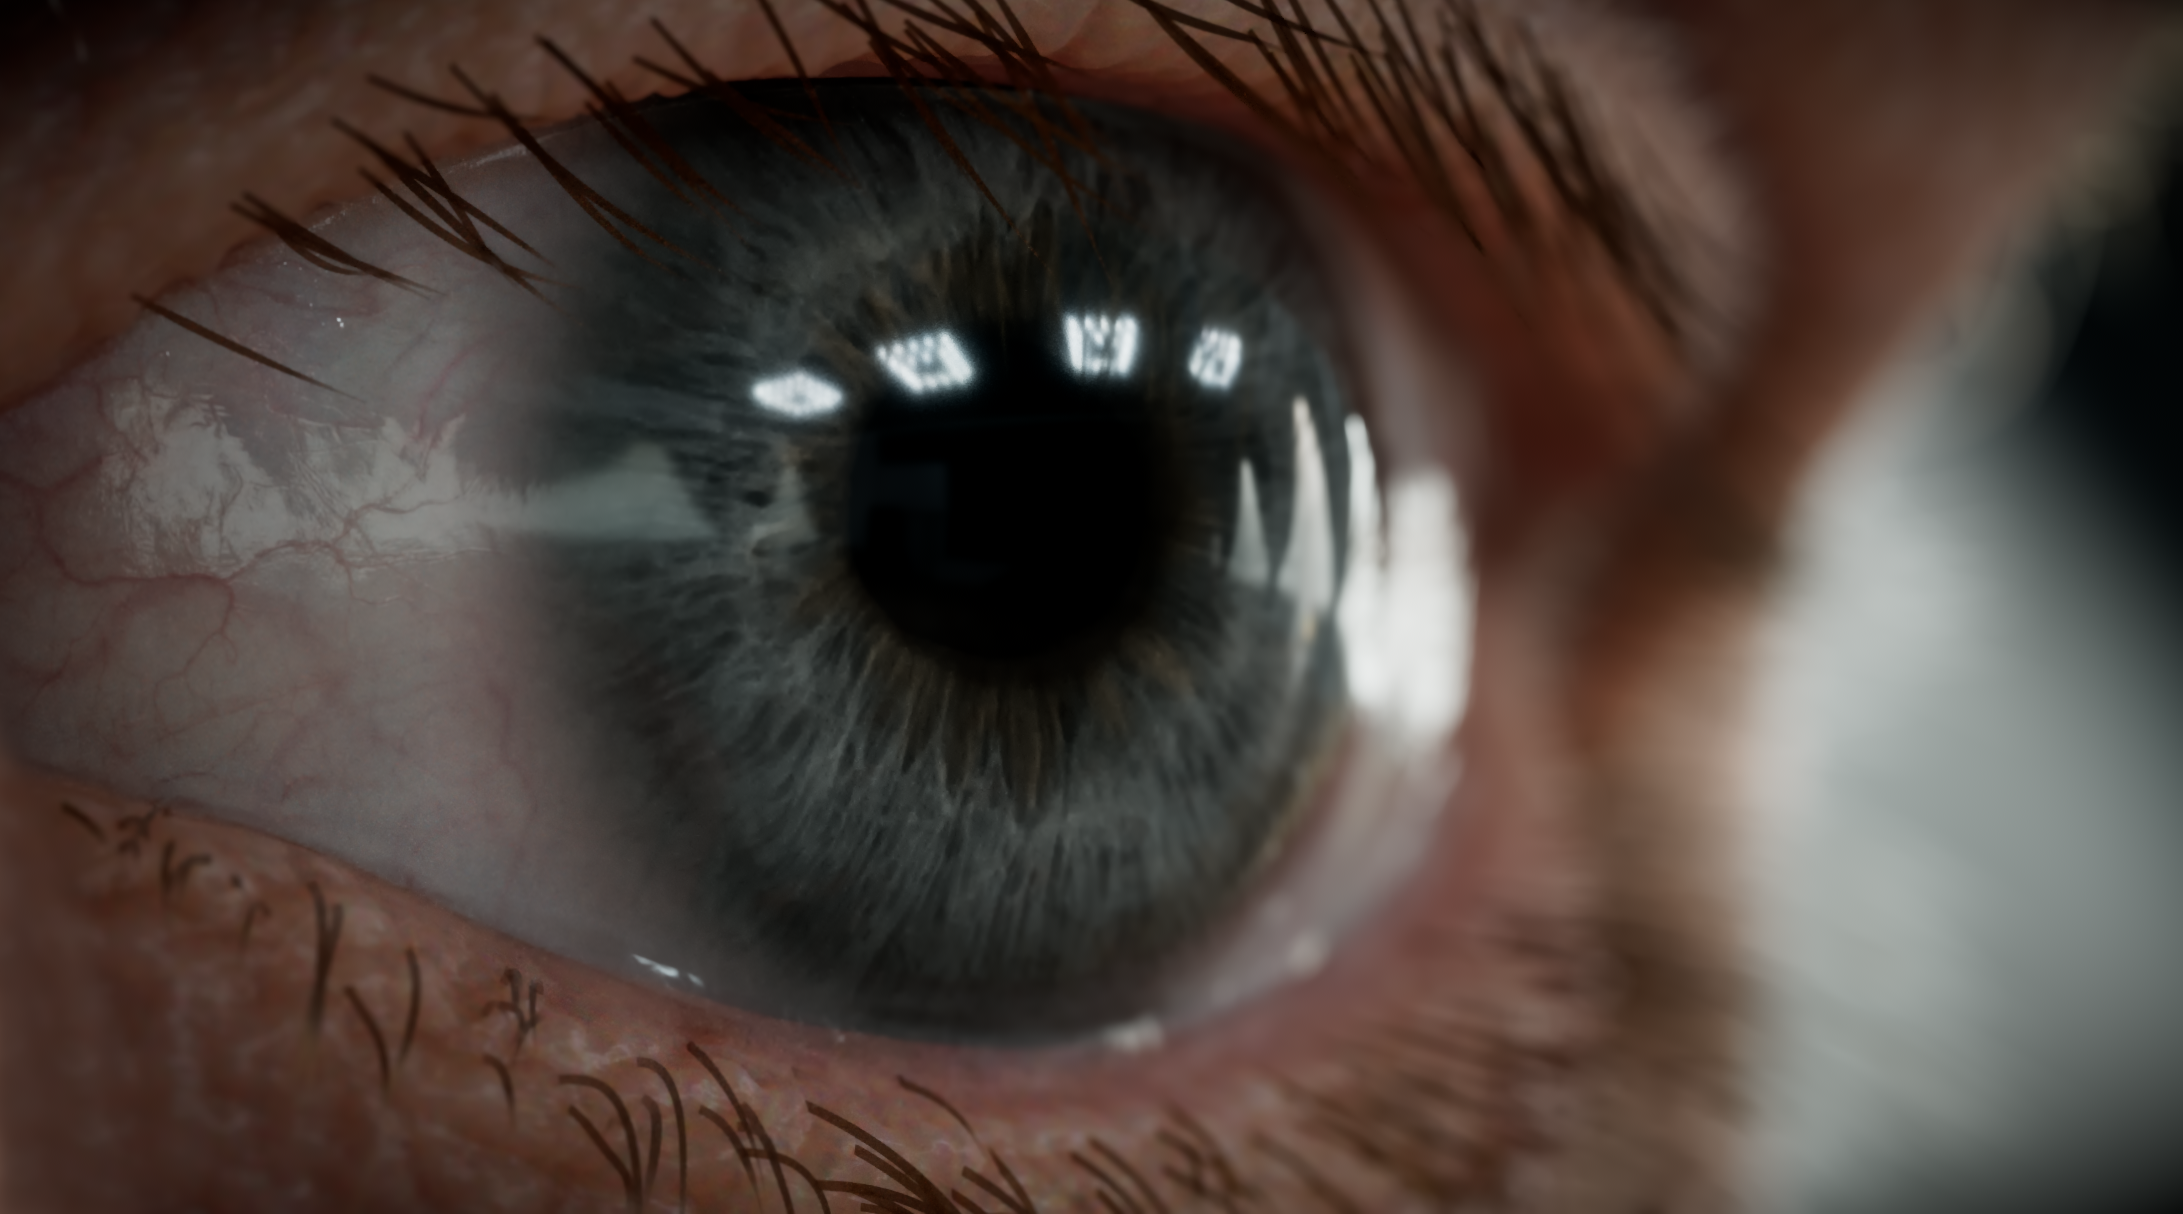
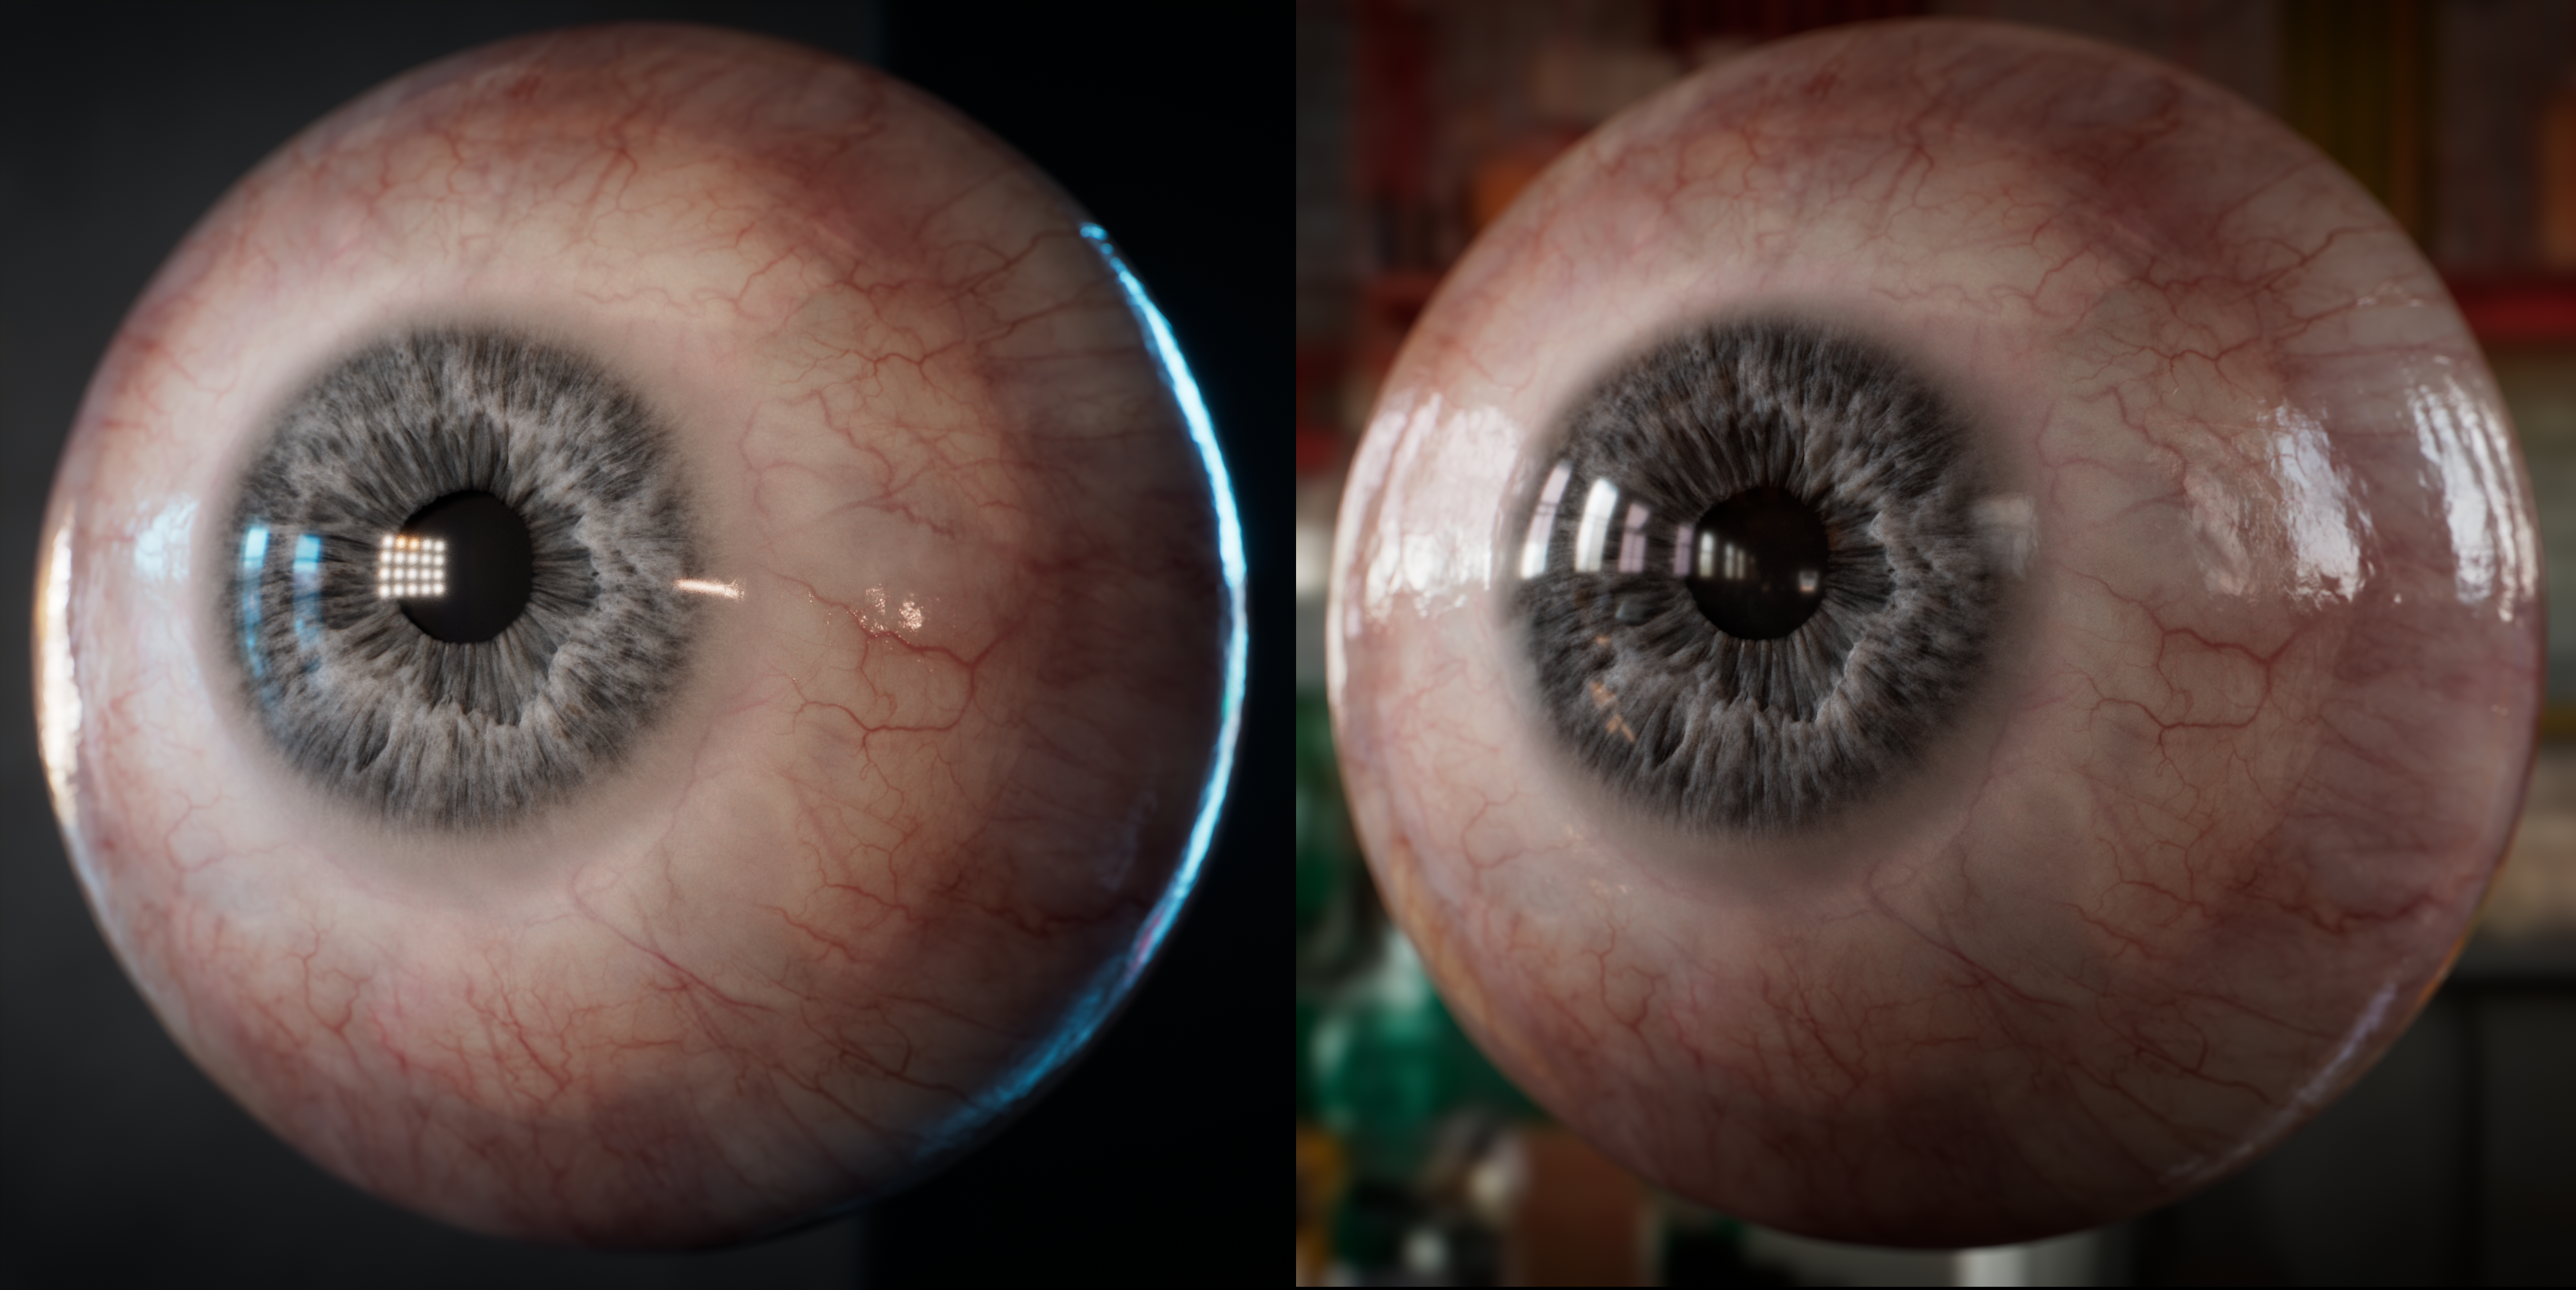
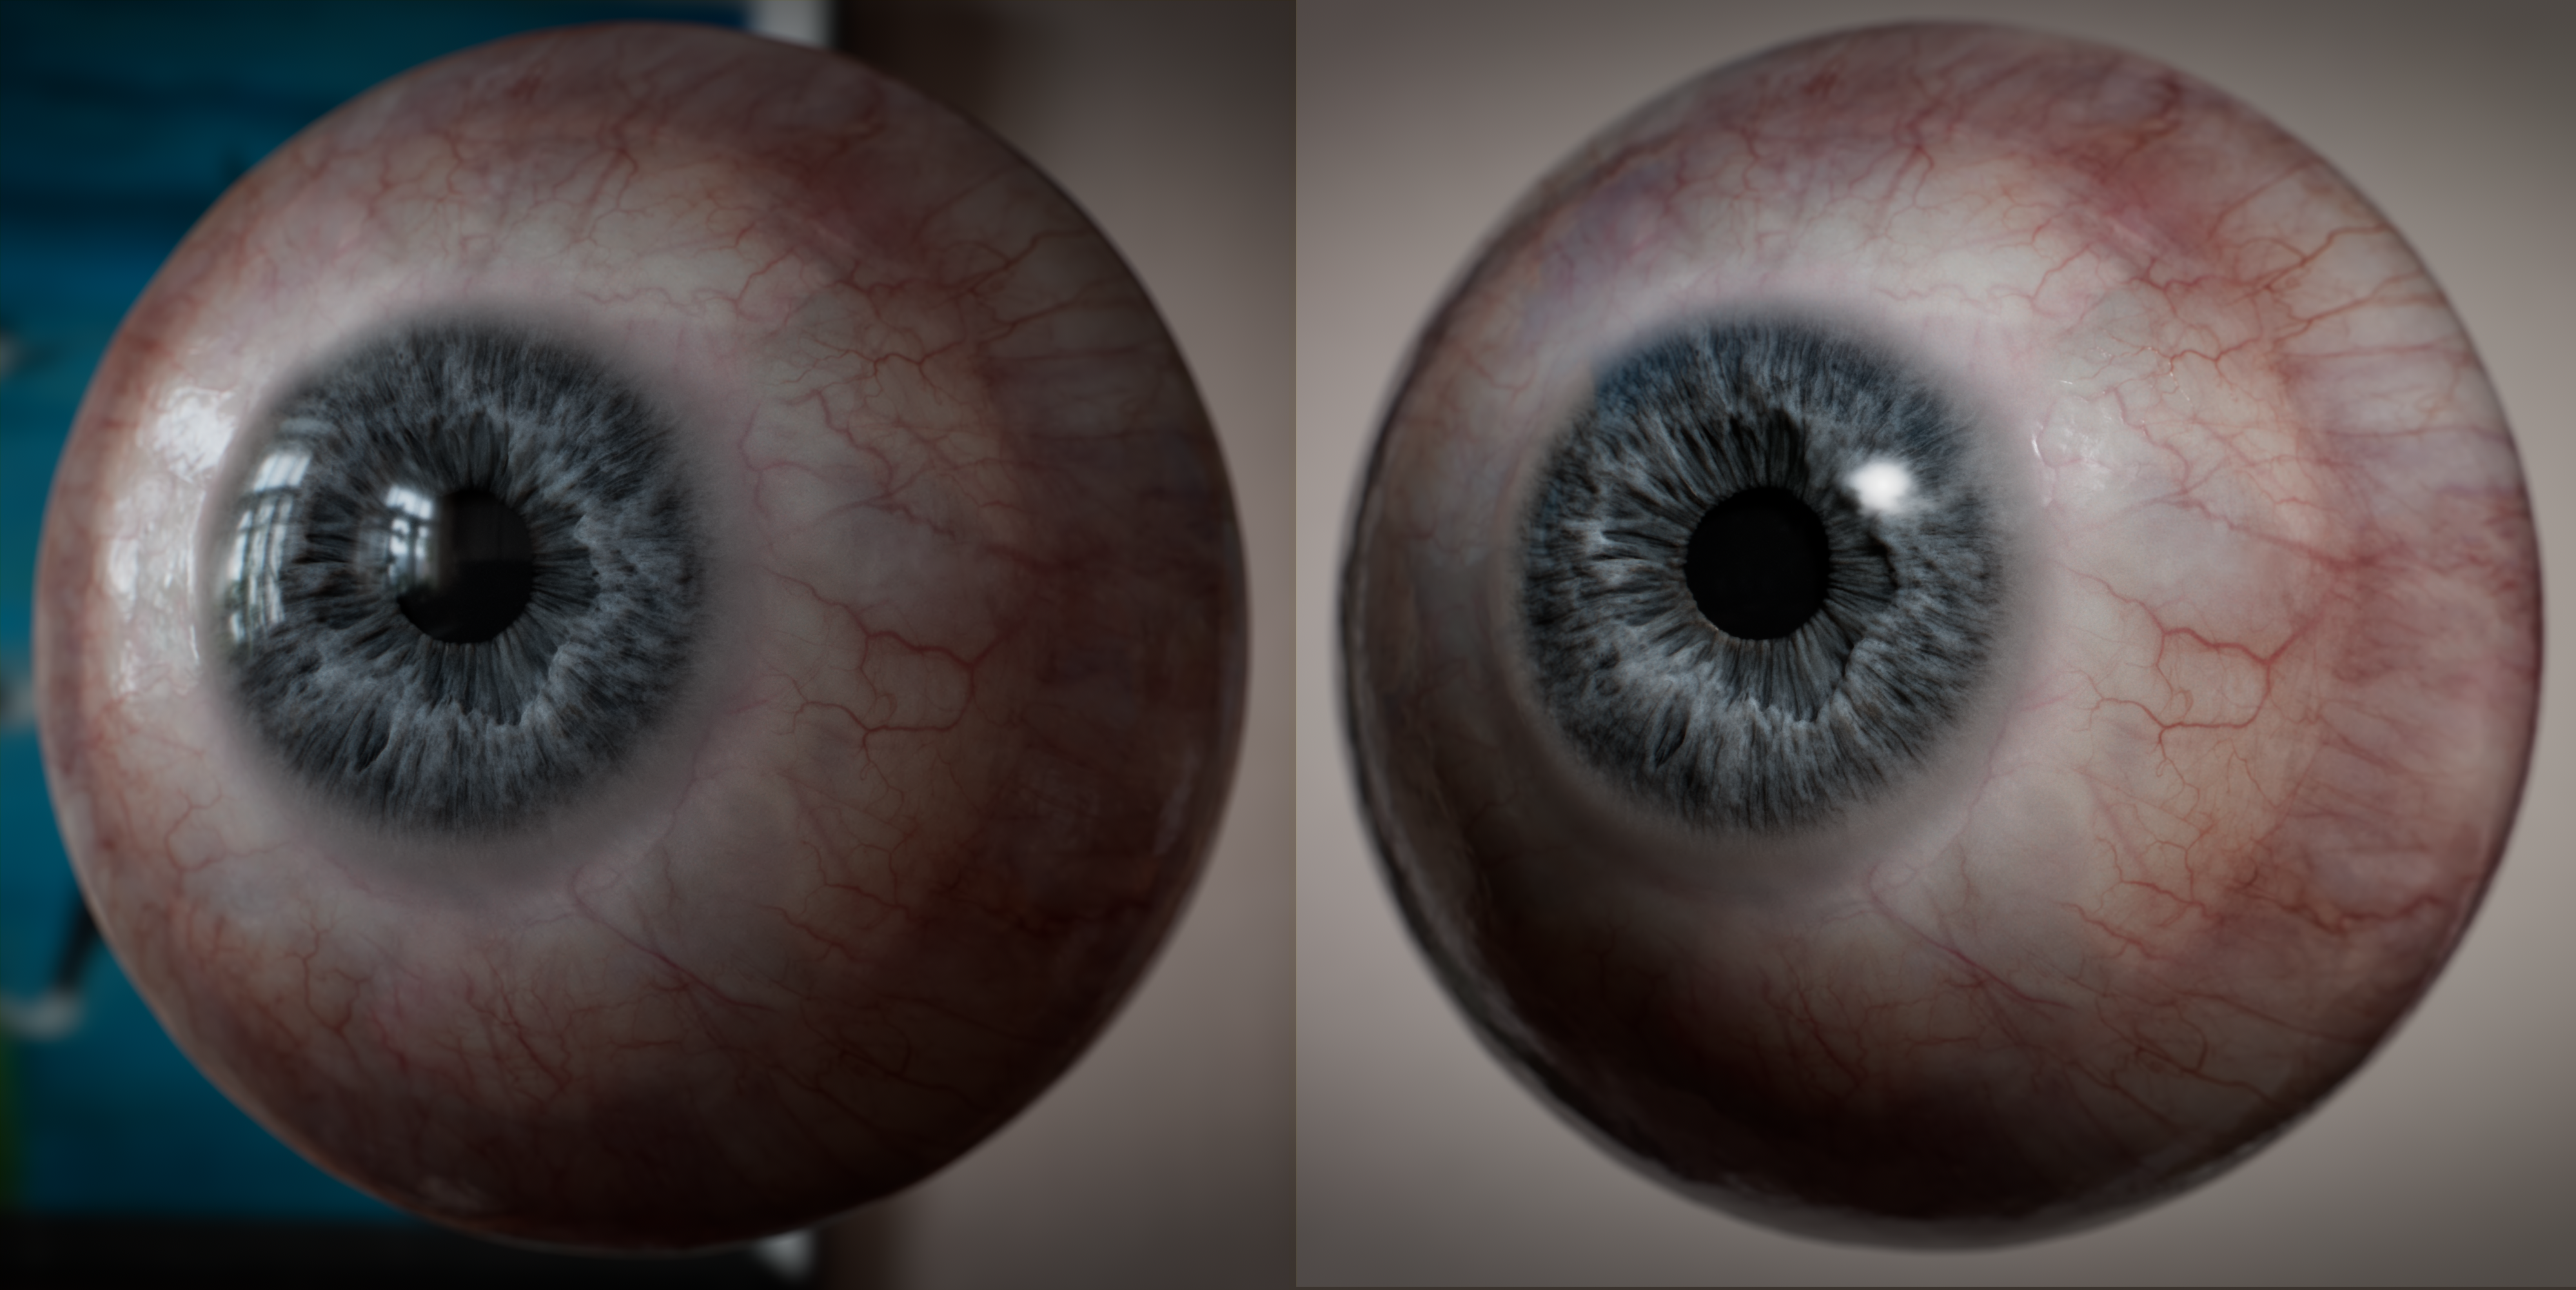
We took care of the 3D eye asset using a 4-part setup, consisting of the sclera, cornea, iris, and pupil, each modeled separately for a more realistic and accurate representation (see the render below).
We utilized a turntable lighting setup to ensure that both the shader and modeling responded correctly to different lighting scenarios, and the specular highlighted the assets with smooth transitions.
Sclera
Cornea
Iris
Pupil
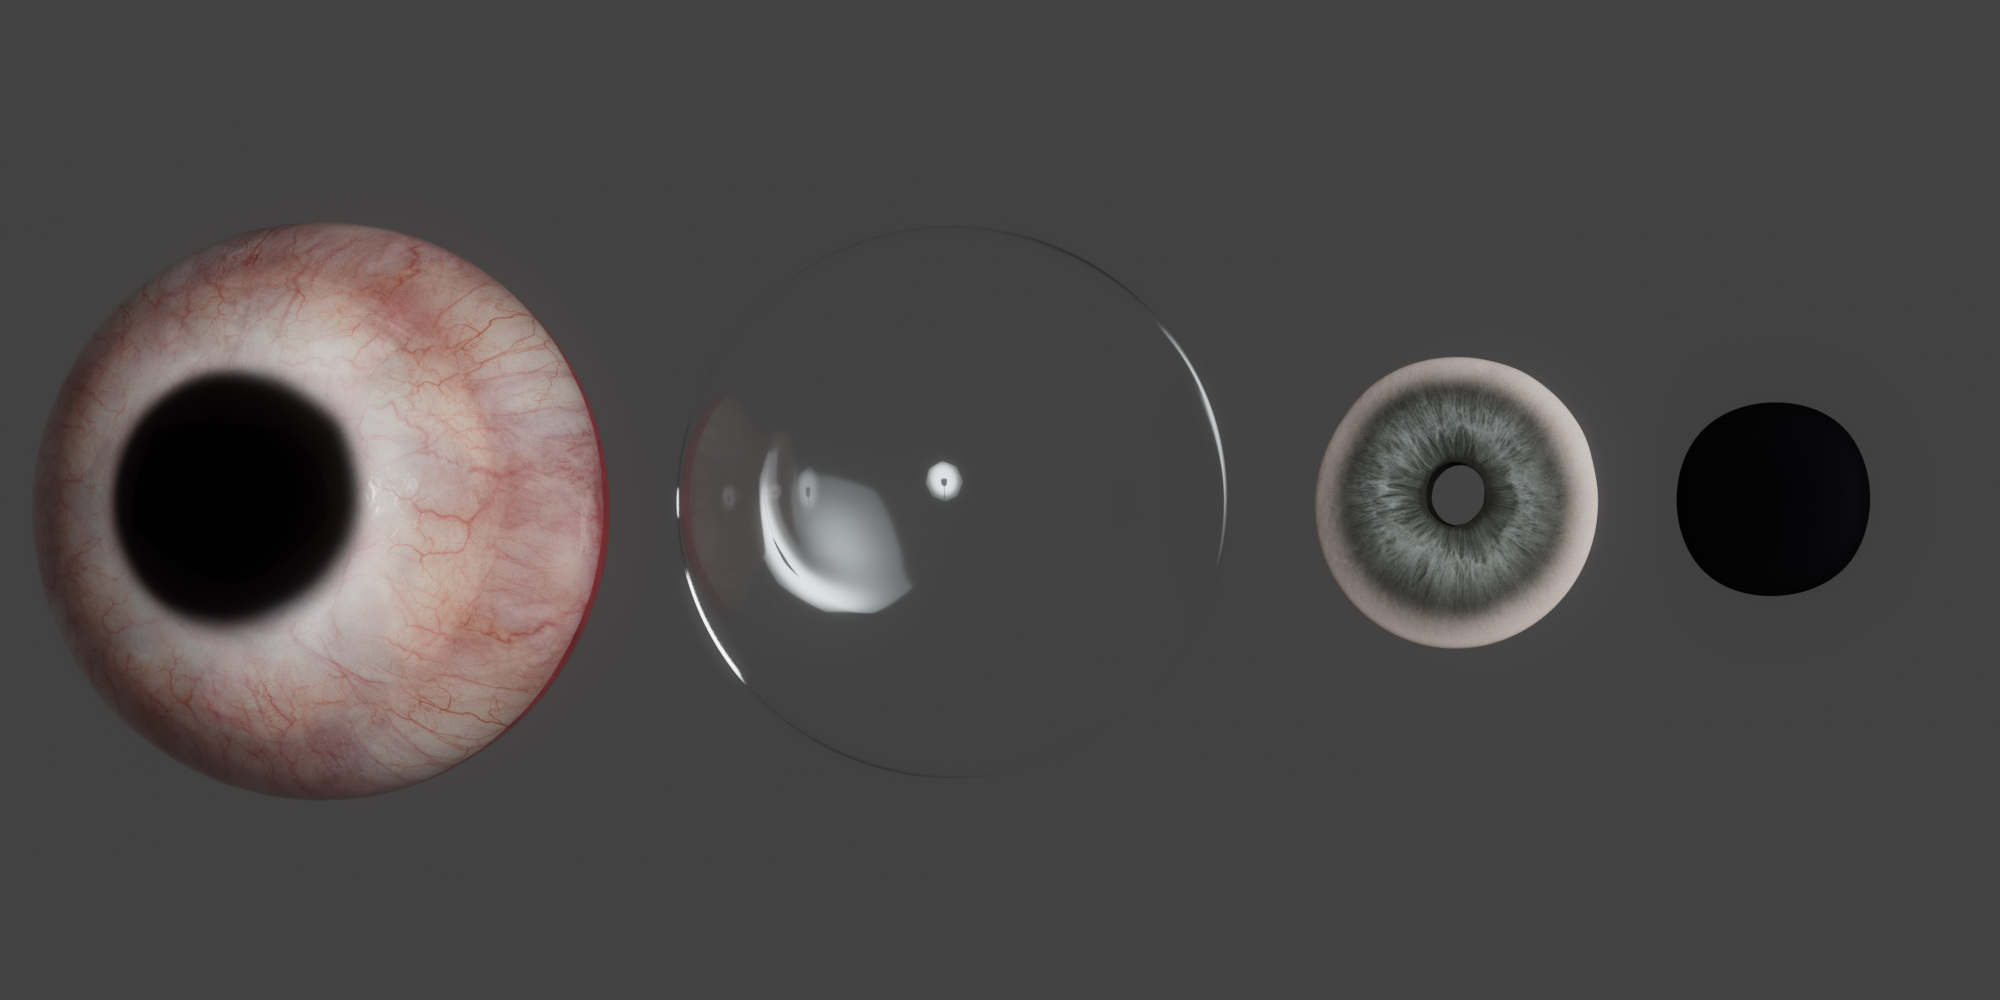
Better understanding of the layered structure and how each material behaves independently.
Breakdown of the eye setup: Sclera + Cornea + Iris + Pupil.
Conclusion
This project was a great opportunity to showcase Symbiote's ability to push photorealistic skin texturing and digital humans to the next level. All within a short two-weeks timeframe. Collaborating with Clear Angle Studios on this article was a rewarding experience, and we're proud of the quality we were able to achieve in a tight schedule.
We look forward to sharing more projects as we continue developing Symbiote's services for high-quality digital humans.
°